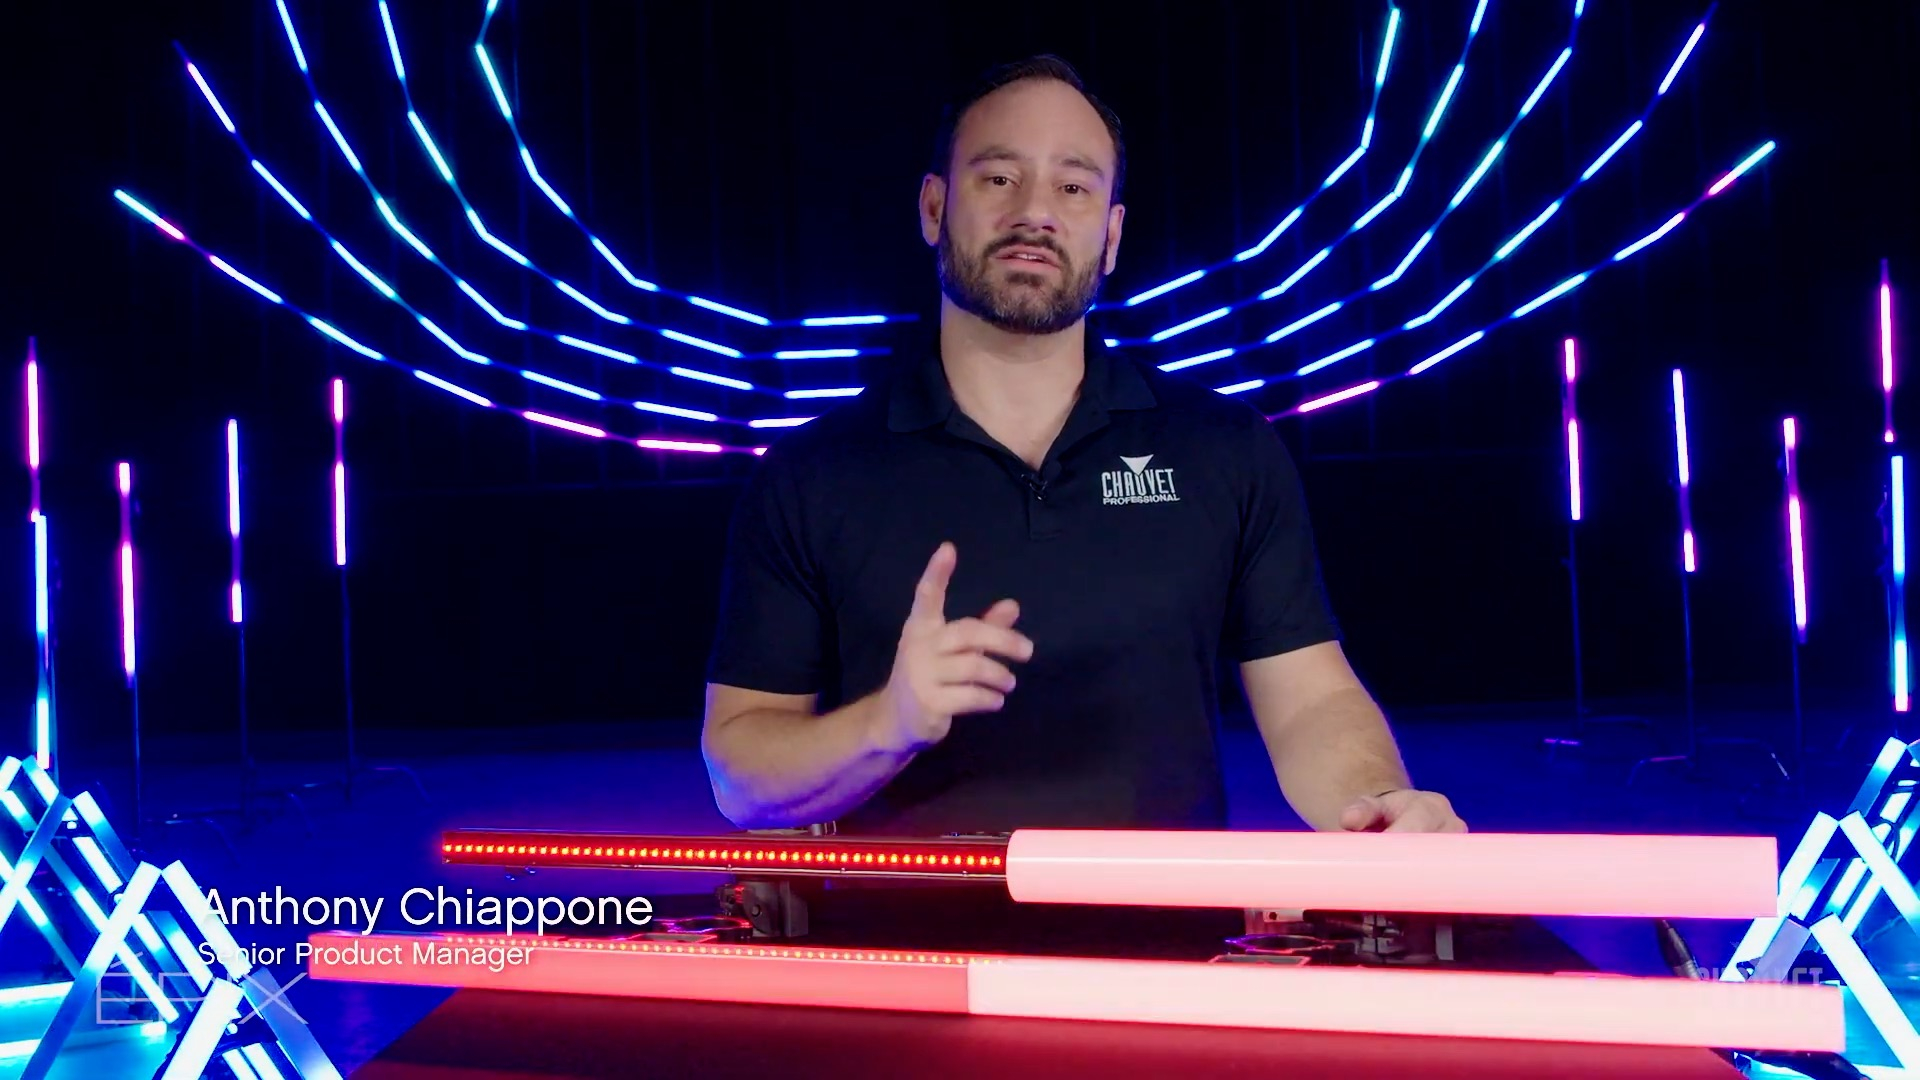
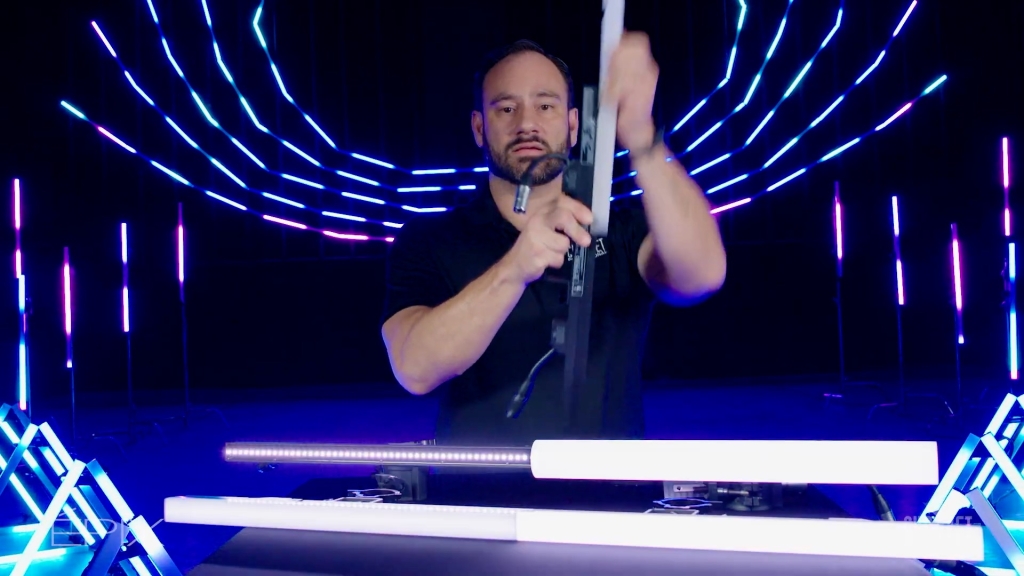
Senior Product Manager Anthony Chiappone covers the filter accessories that come included with ÉPIX Line fixtures. WATCH NOW.
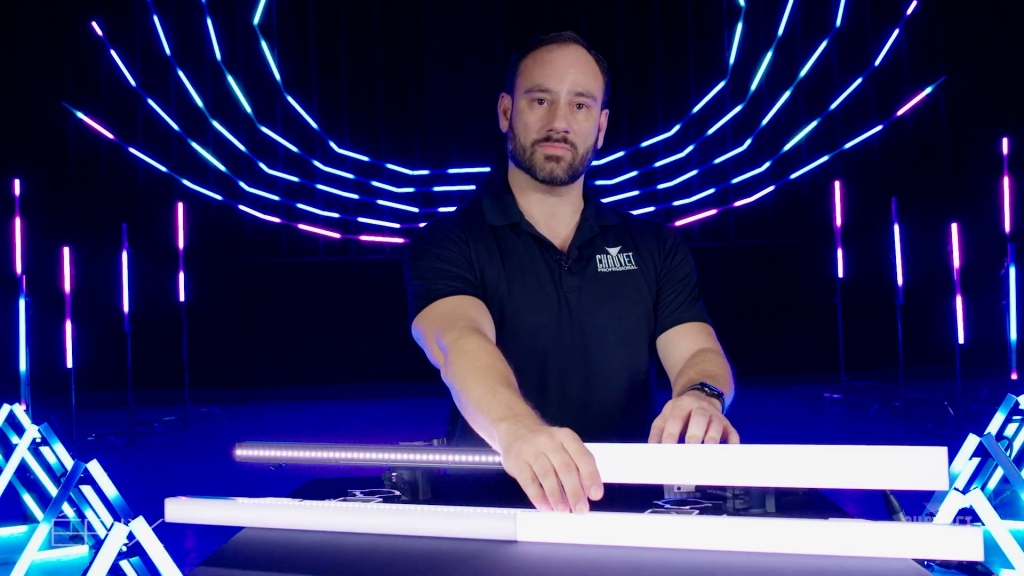
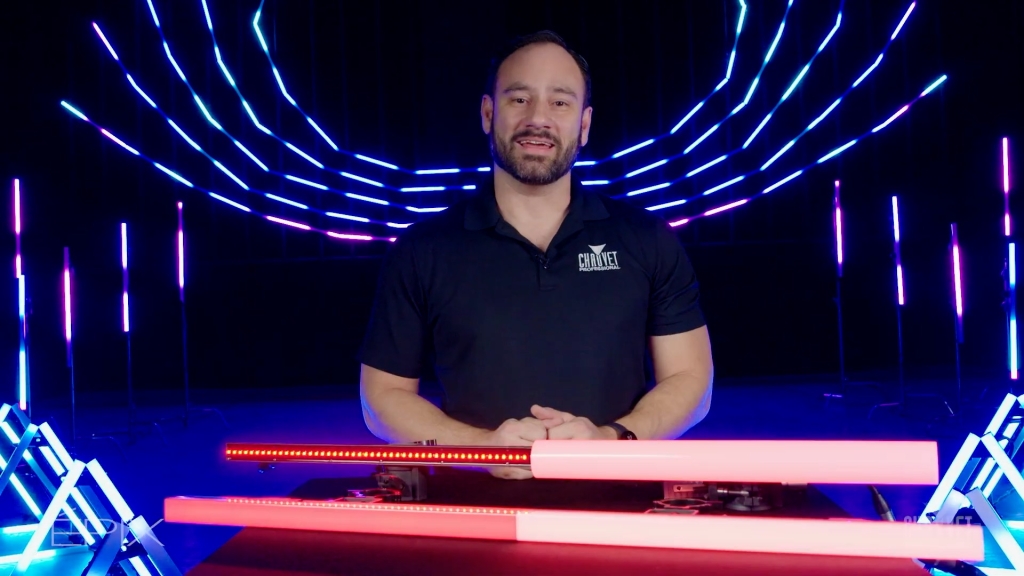
The square white milky filter produces the brightest output and is the best choice for outdoor locations or any venue where Line fixtures will be competing with other sources of bright light.
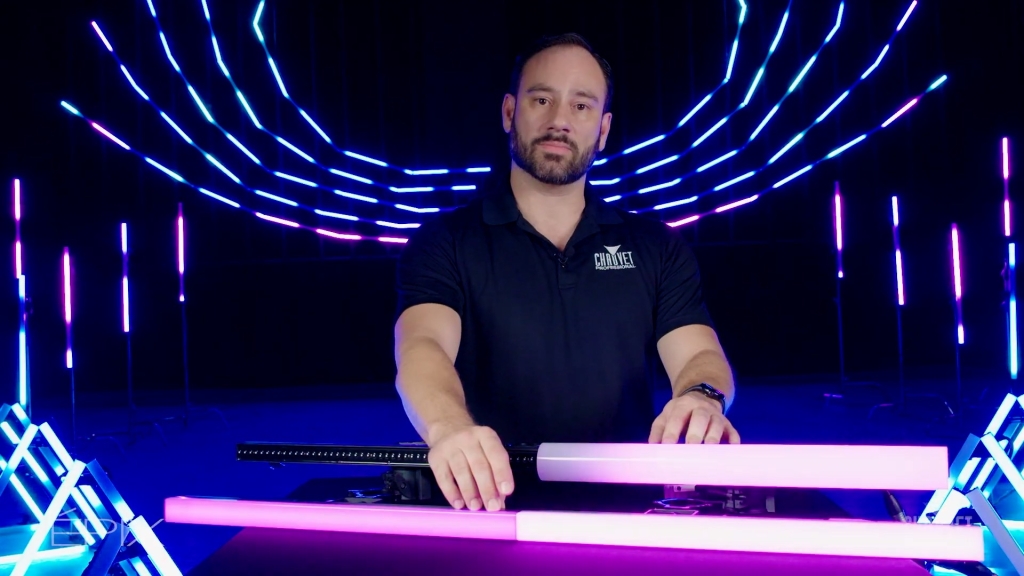
The square black stealth filter hides Line fixtures in the rig until they’re turned on, optimal for stages or sets that call for surprise pops of geometric pixel effects and kinetic color motion.
The rounded 50 millimeter white milky dome filter is ideal for offering audiences the widest possible viewing angle in larger venues.
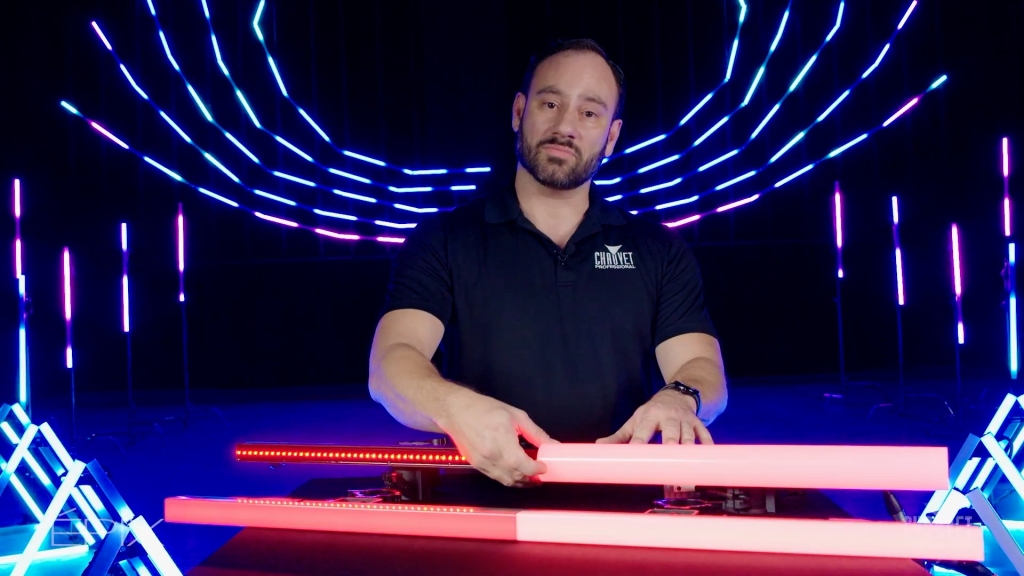
All three types of filters are easy to swap. There is a simple spring-loaded filter lock and all you need is your thumb and forefinger to trigger it. Pull it back and the filter slides right off. Grab your new filter, slide it on and you’re good to go.
MEET THE GEAR:
ÉPiX Line 10 fixtures deliver vivid wide-gamut RGB color and a variety of looks and viewing angles with three included optical filters. Powered by the ÉPiX D4 IP Drive, these sleek outdoor-rated linear pixel strips offer native compatibility with the Epix Mapping System, industry-standard MVR file support, and automatic fixture detection, enabling fast streamlined video mapping and scalable configuration in the most demanding touring, rental, and permanent integration applications.
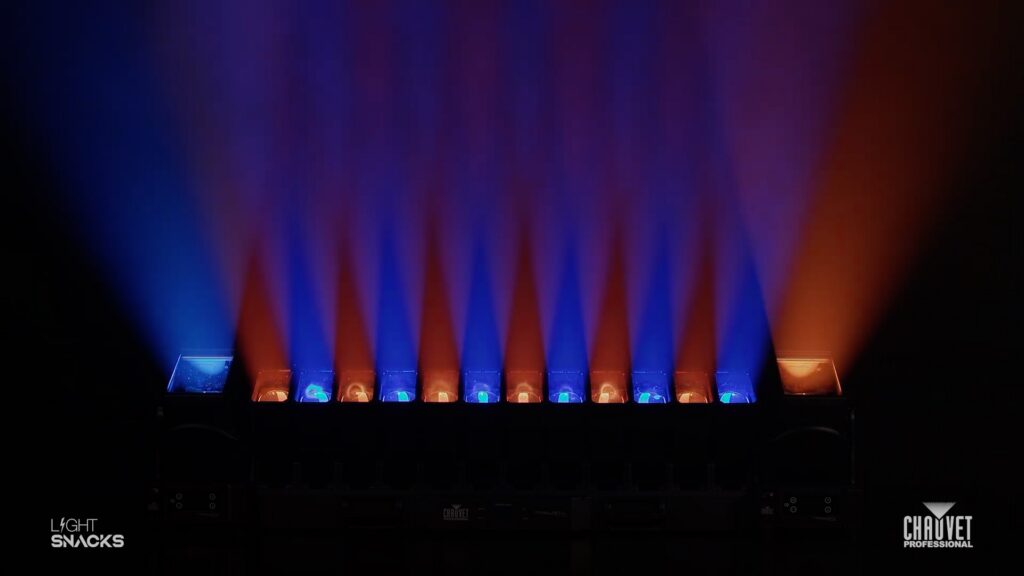
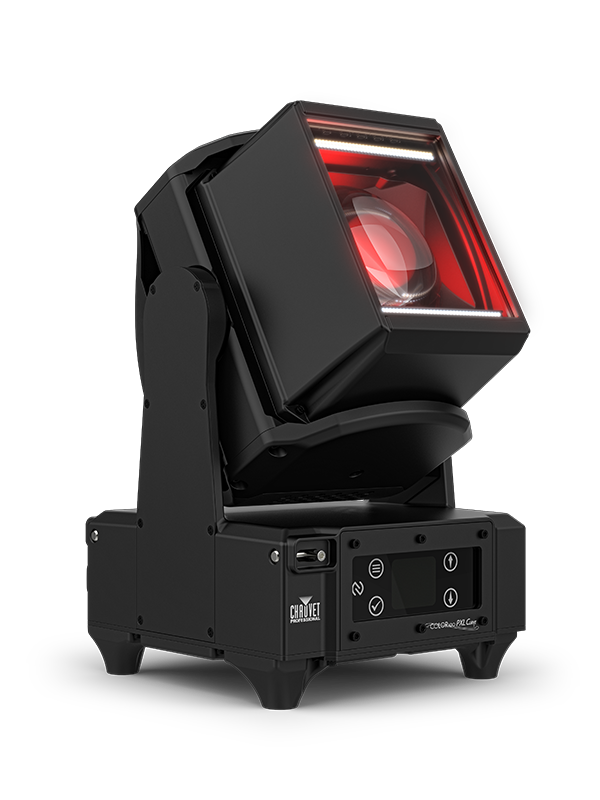
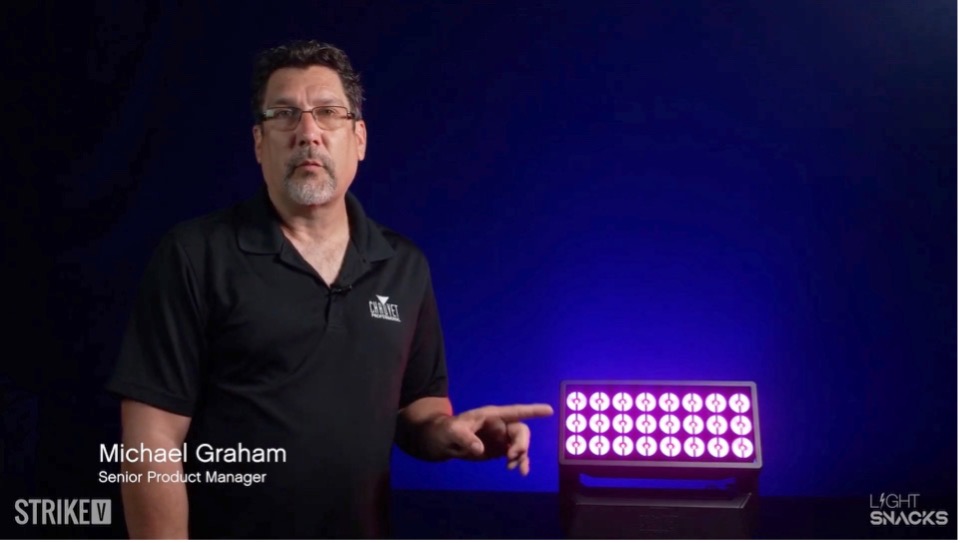
In this episode of Light Snacks, Senior Product Manager Michael Graham explores how the new COLORado PXL Curve 1 pairs seamlessly with the popular COLORado PXL Curve 12.
Designed with matching RGBW color engines across the PXL Curve family, these fixtures deliver consistent color output even though PXL Curve 1 features a brighter LED and larger face. That consistency makes it easy to build effects that flow smoothly across both fixtures without visual breaks.
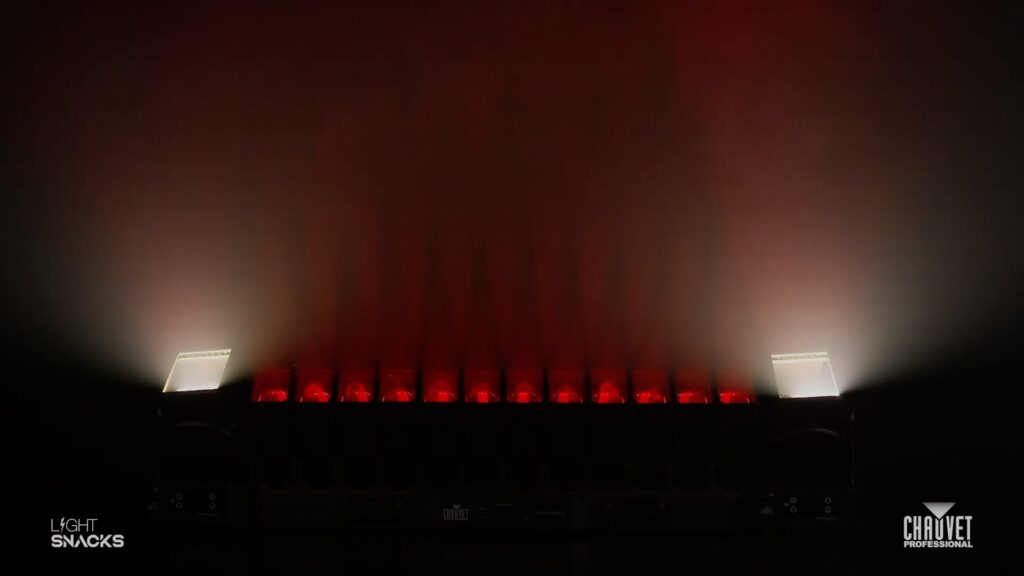
Adding tilt across both PXL Curve fixtures is equally smooth. Panning the COLORado PXL Curve 1 adds new looks to your PXL Curve combinations in the rig.
For peak moments, punch up the PXL Curve 1’s warm and cool white strobe cells to build spectacular effects.
MEET THE GEAR:
COLORado PXL Curve 1 features motorized pan, tilt and zoom in a compact IP65-rated RGBW LED beam and wash fixture that brings the added punch of dual linear cool and warm white LED strobe cells. Designed for seamless pixel mapping with multiple fixtures, alignment pins maintain pixel pitch while its color blending and rectangular head perfectly match other COLORado PXL models in the rig. Flexible DMX, sACN, and Art-Net control along with RDM and NFC support round out this versatile addition to the COLORado PXL family.
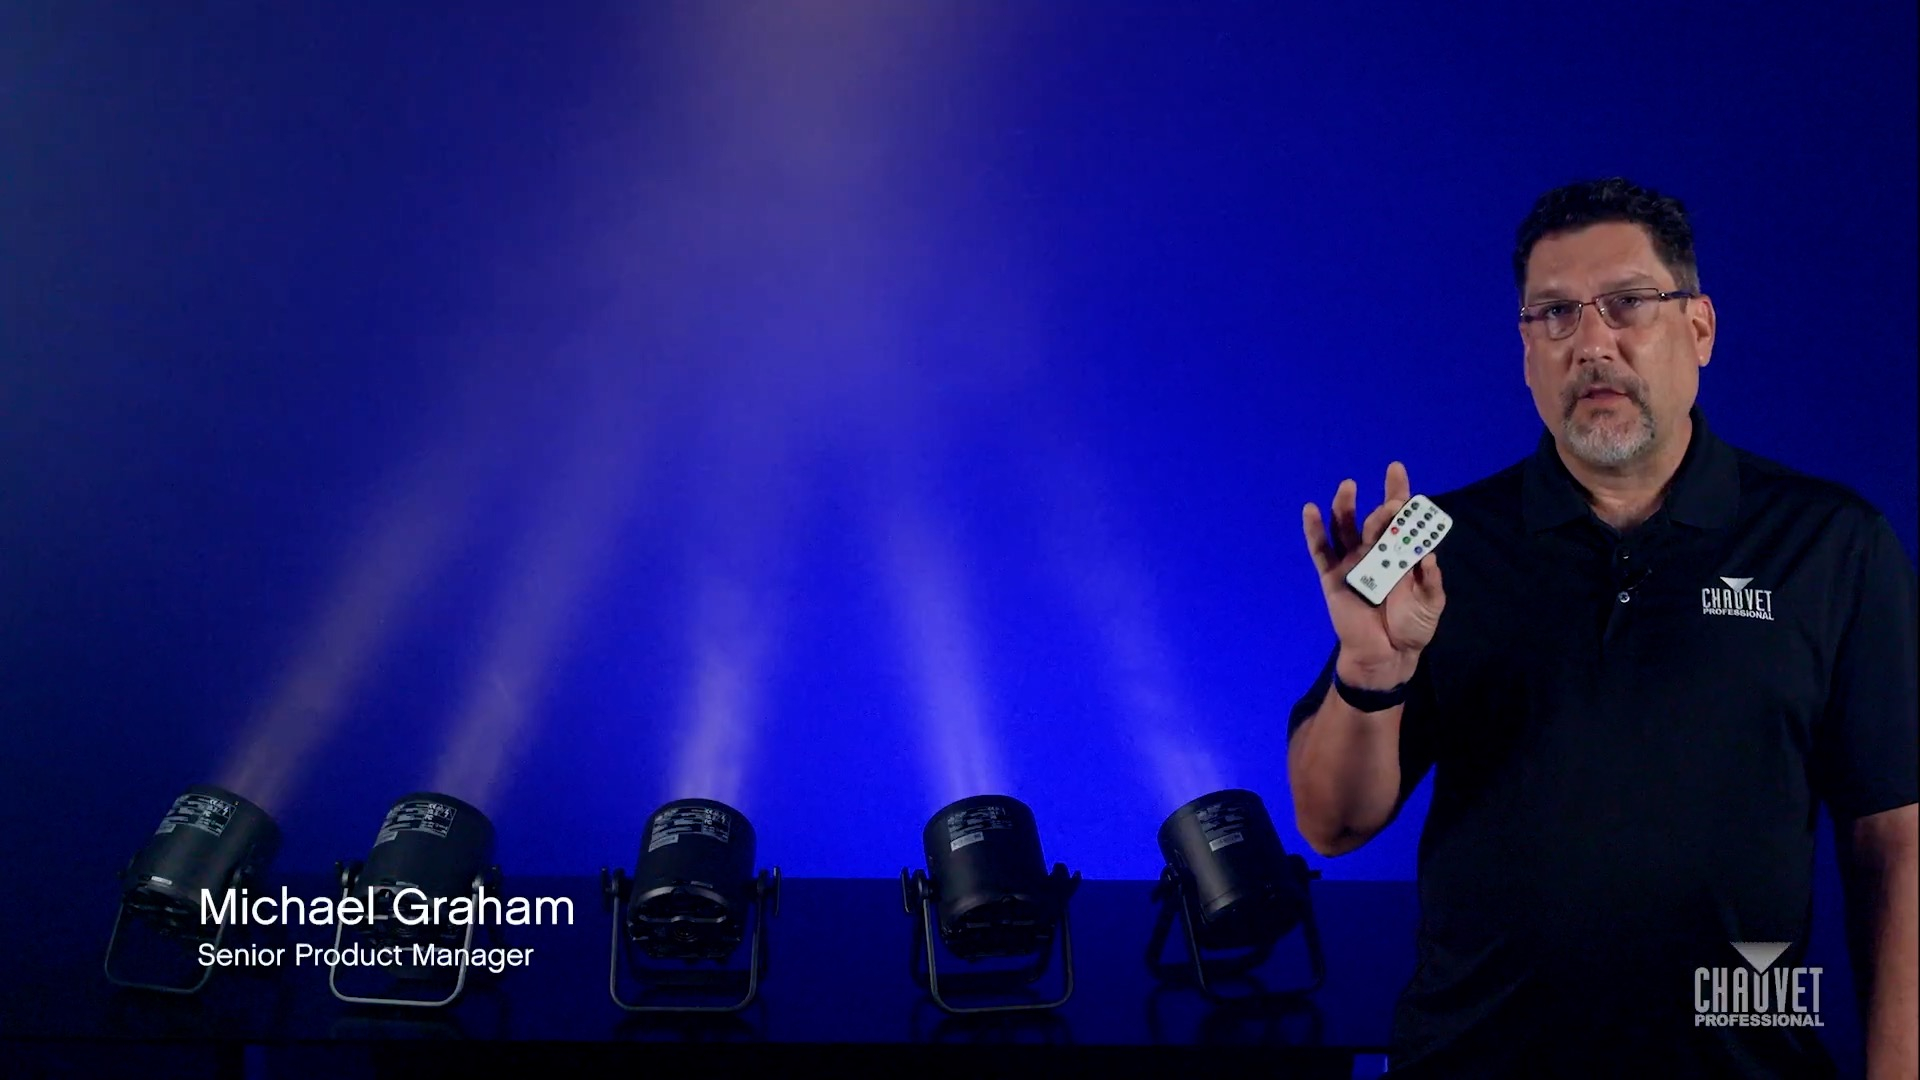
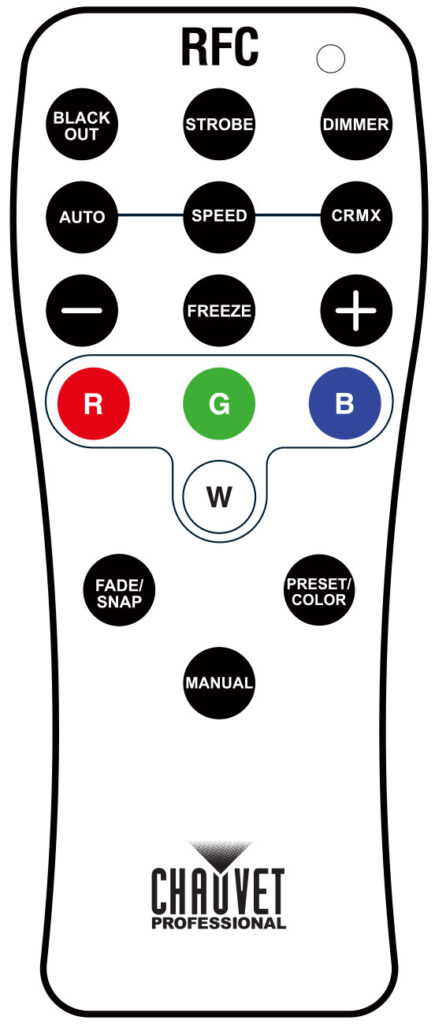
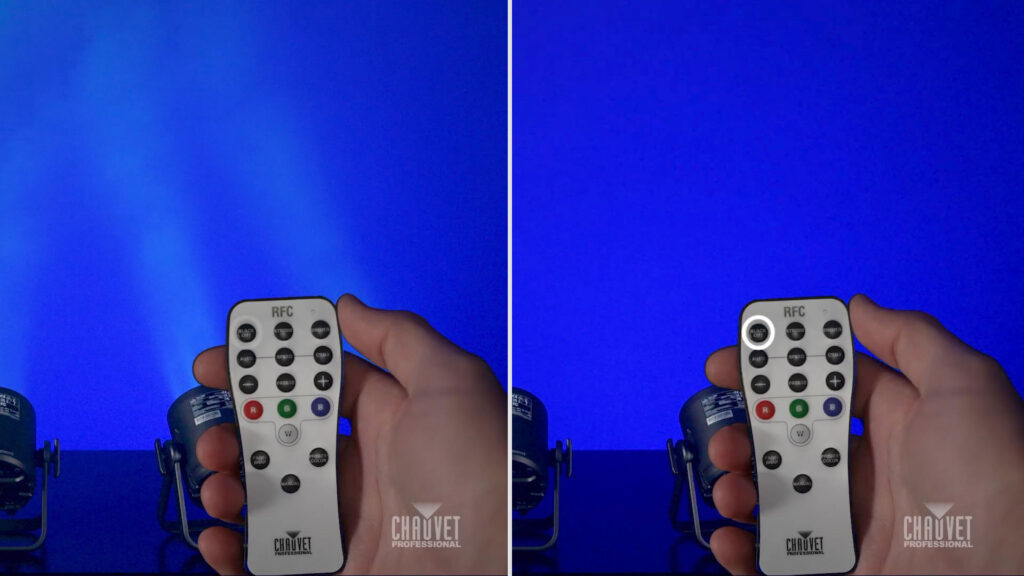
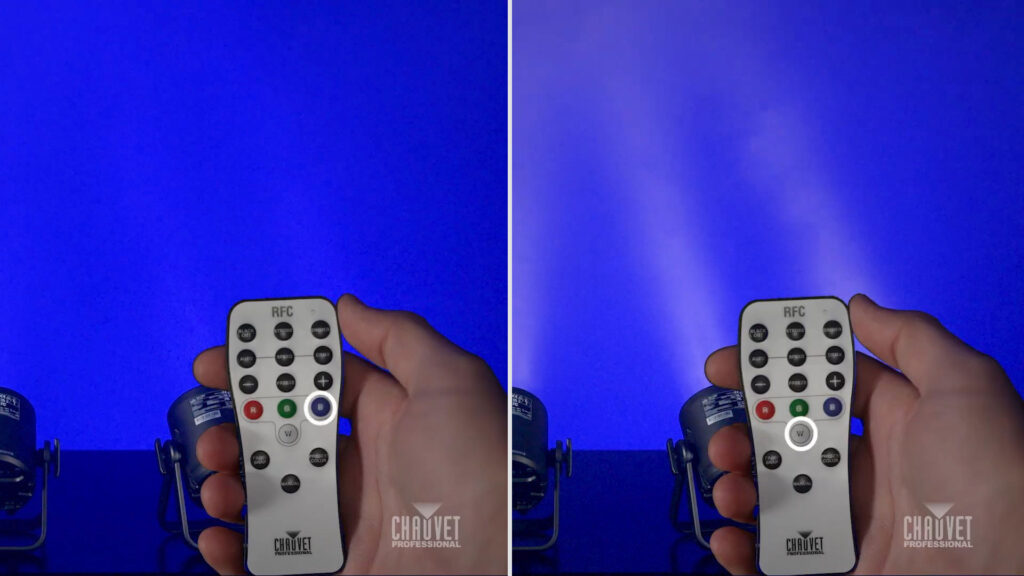
Avoid the chaos of blackout loops by watching Senior Product Manager Michael Graham demonstrate how to effectively use the blackout feature on our handheld RFC remote control:
Press a color button to restore output and select colors
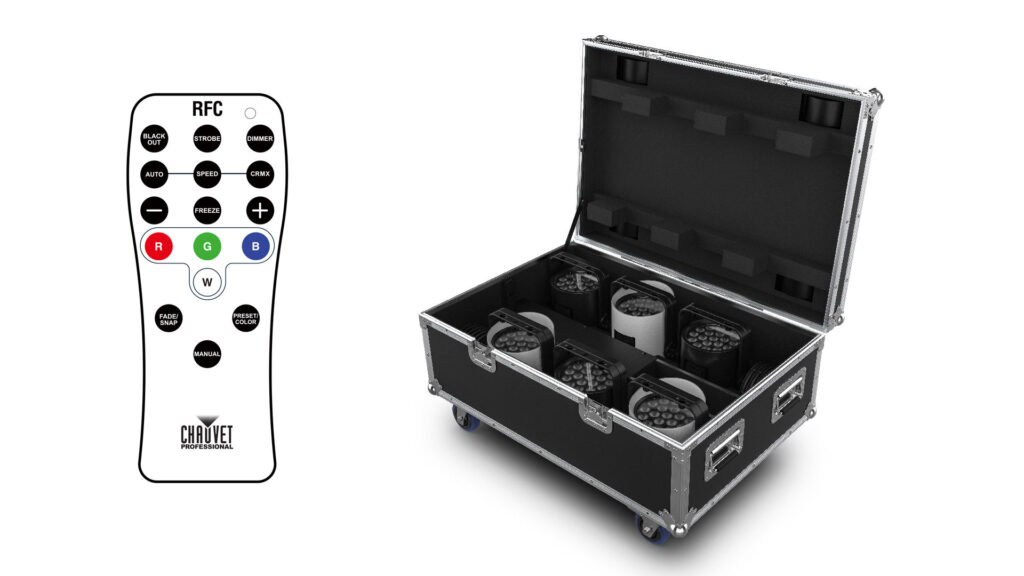
Featured in this Light Snack: WELL POD 2
WELL POD 2 is a compact addition to any rental package, delivering great output, fantastic color rendering, and the flexibility of a PAR fixture design with a removable split yoke ideal for both truss and floor mounting. Up to 18 hours of battery life from a wash light engineered to meet the needs of lighting professionals working in environments where quick setup and flexibility are crucial. Roll into any production, indoors or out, with a road-worthy six-unit kit with built-in charging capability.
Maverick Force X fixtures are compact, high-output tools built for professionals who need speed, flexibility, and broadcast-ready reliability.
65kHz Pulse Width Modulation frequency settings come standard on both Maverick Force X Spot and Force X Profile. Typically, with previous technologies, such a high PWM frequency would result in steppy dimming on the low end.
In this episode of Light Snacks, Senior Product Manager Michael Graham demos the 65kHz PWM dimming that enables Force X to deliver flicker-free performance with nearly any camera, including those with the fastest frame rates, while still maintaining fantastic dimming.
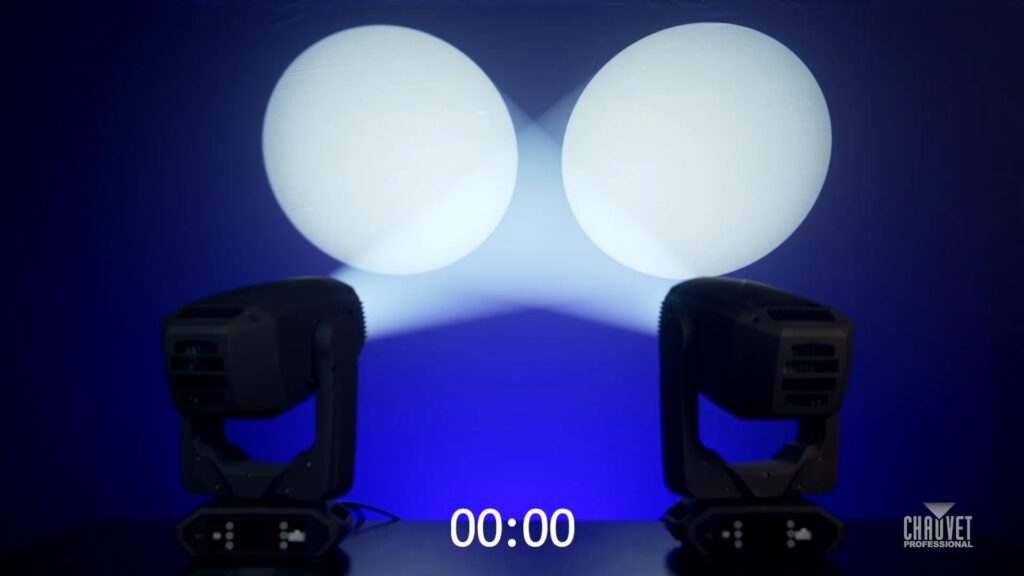
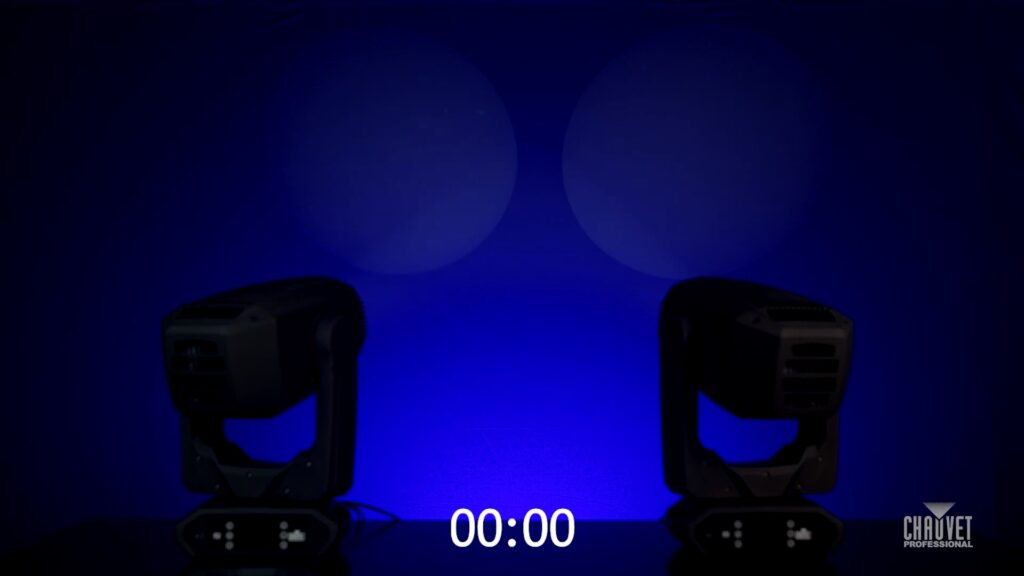
WATCH our series of Maverick Force X dimming tests for yourself, as the fixtures fade evenly to black from full output over ten seconds and then come back up just as evenly to full over five seconds.
In the final demonstration of critical bottom-end dimming performance, Force X dims from 10% to 0% output over ten seconds to land on a flawless fadeout.
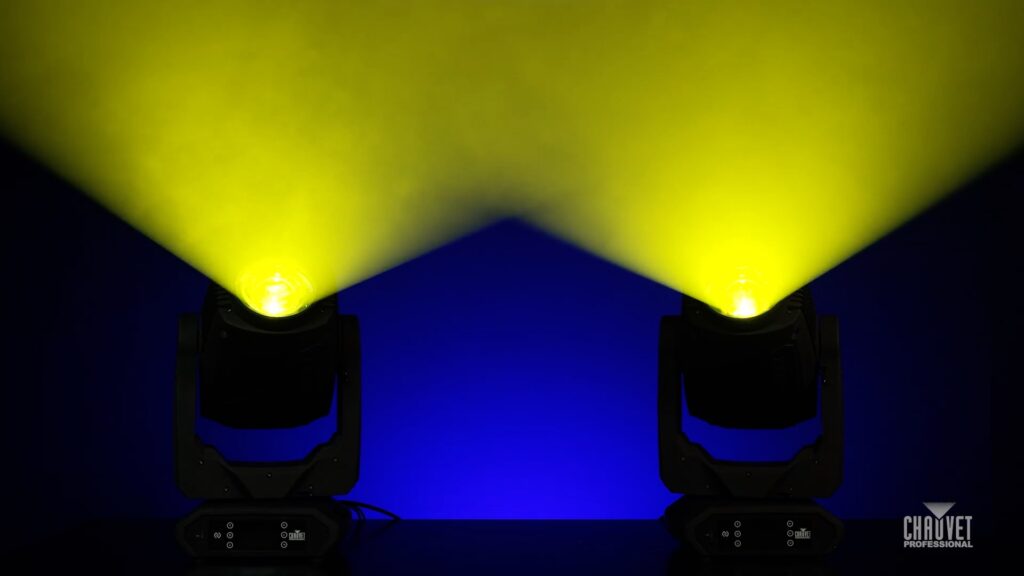
Senior Product Manager Michael Graham: “Our Force X CMY wheels reduce tear when color mixing and gives a much nicer look when doing pastels and intense colors.”
In the first half of this episode, Mike demos the capabilities of the Force X color system:
Even transitions from Cyan, Magenta to Yellow
Smooth mixing of Amber, Blues, Light Blues and Greens
Independent color wheel with Red, Orange, Magenta, light CTO, heavy CTO, CTB and CRI filters
Followed by a walk through the dynamic morphing effects and flawless focus the Force X optical system delivers at narrow, mid and wide zoom settings.
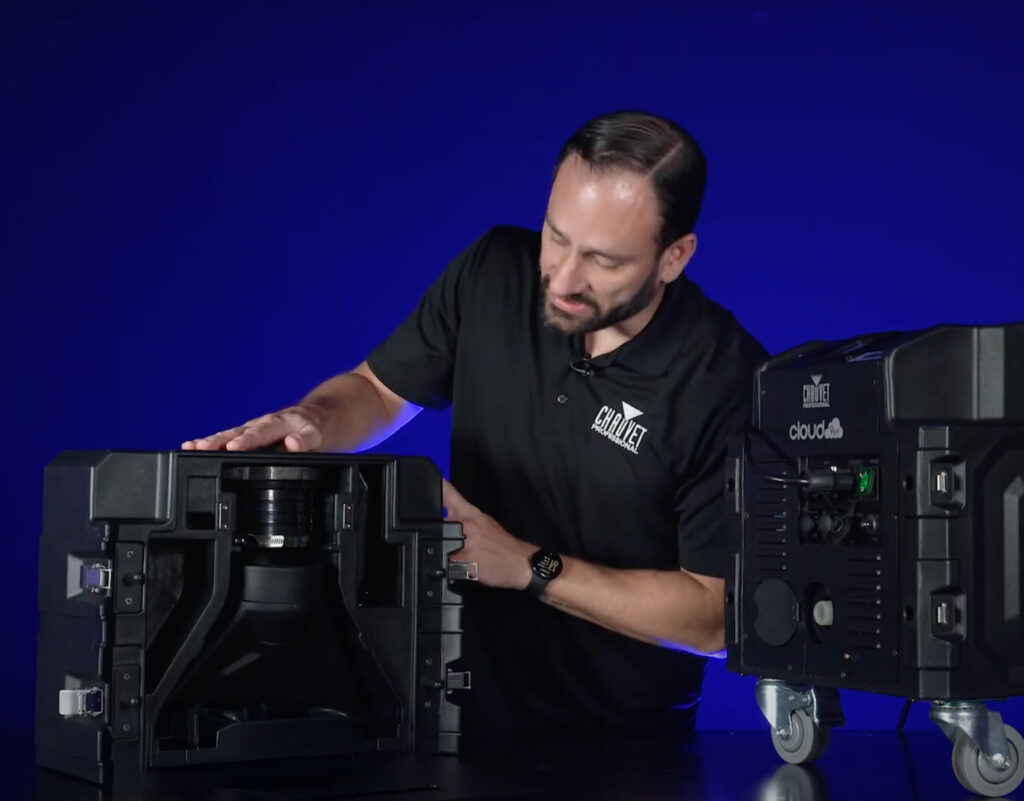
The original Cloud 9 helped redefine low-lying fog on major stages and productions worldwide. Now, Cloud 9X IP takes everything you loved and levels it up with smarter features, a lighter footprint, and a more weather-ready build, all in a single streamlined powerhouse.
One of the most immediate upgrades? Weight. The Cloud 9X IP has been trimmed down to around 75 lbs, compared to over 120 lbs on the previous model, making it far easier to transport, rig, and reposition in the field.
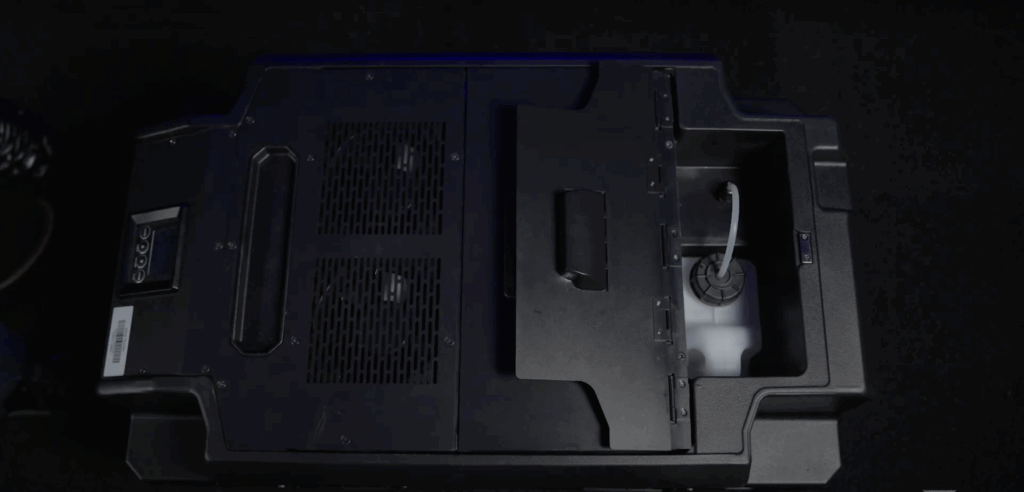
The housing has been completely redesigned with built-in reservoirs for both water and fog fluid, as well as a clever storage compartment that houses the hose and all your essential accessories. You’ll spend less time digging through cases.
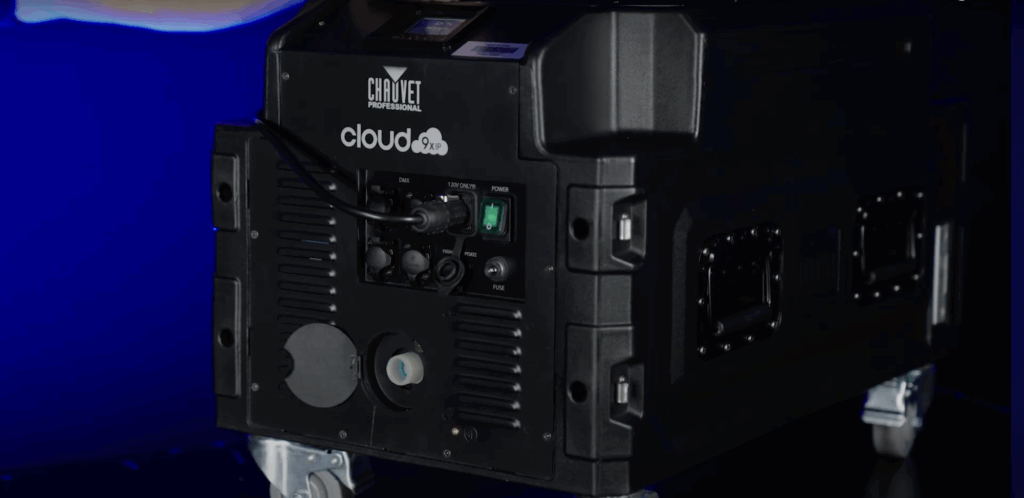
With its IP-rated housing, Cloud 9X IP doesn’t flinch at outdoor events, damp environments, or high-traffic stages. A new garden hose input means continuous refilling is as simple as turning on the tap, no manual top-offs necessary. Just set it to auto-sense mode, and it’ll maintain fluid levels on its own.
In the past, powering a low fogger meant dual cables and careful planning. The Cloud 9X IP runs everything through a single, efficient power cable, reducing complexity and setup time.
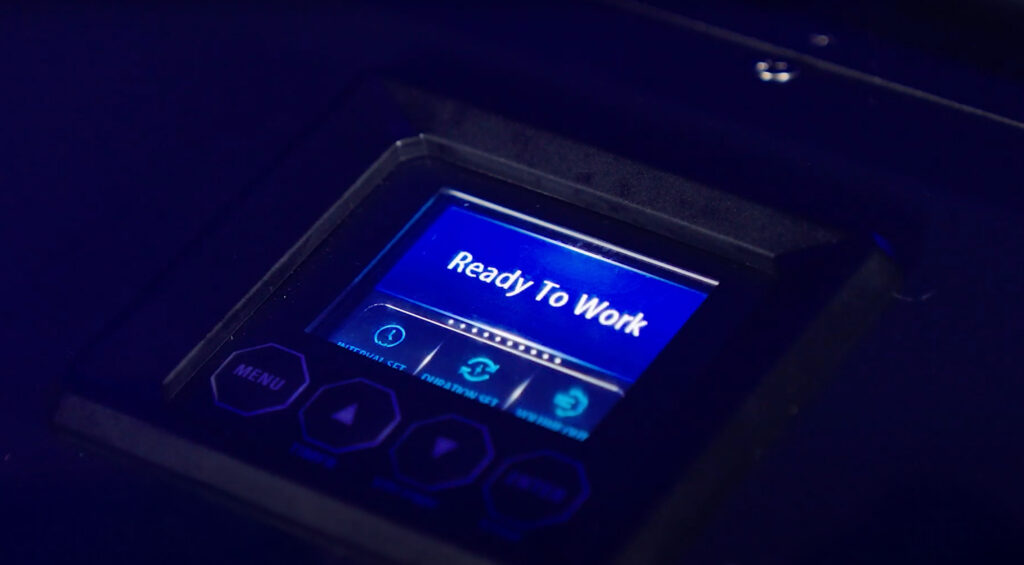
You’ll also find an upgraded full-color display, both 3-pin and 5-pin DMX, and a USB-C port for quick firmware updates.
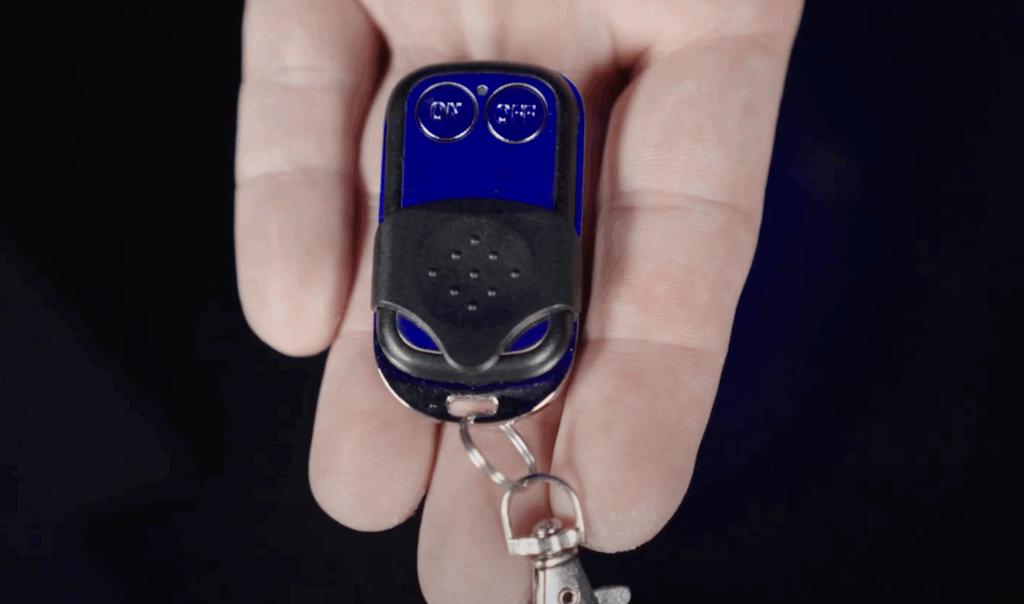
And for simple shows, quick cues, or rentals, the addition of a dedicated RF remote brings a brand-new layer of flexibility, no console or timer required. Trigger fog effects on demand with just a button press.
“This is going to be really great for single rentals where you don’t want to set up a controller or timer,” says Senior Product Manager Anthony Chiappone.
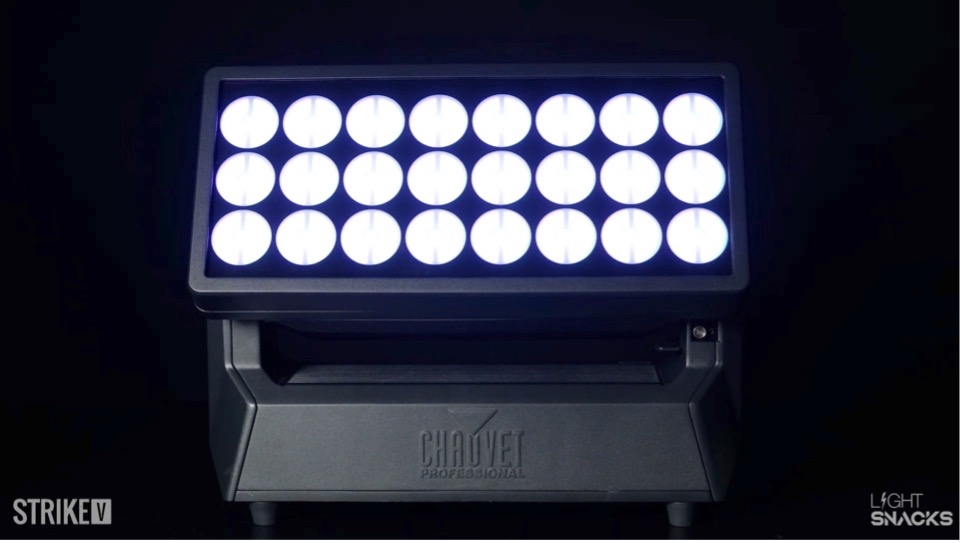
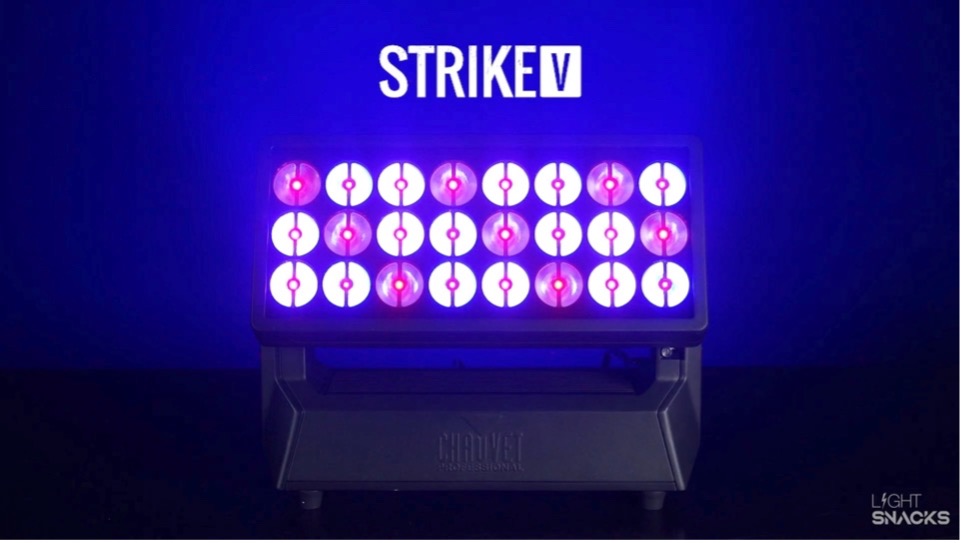
STRIKE V features independently controlled LED diode plates and a smart variable frost that can be combined to produce dynamic multi-layer pixel effects. Follow our Light Snacks playlist for all our tips on programming STRIKE V’s layers of cells, dots and electrostatic frost.
Key takeaways from this episode:
Bring the frost up to fine-tune the best on-camera look.
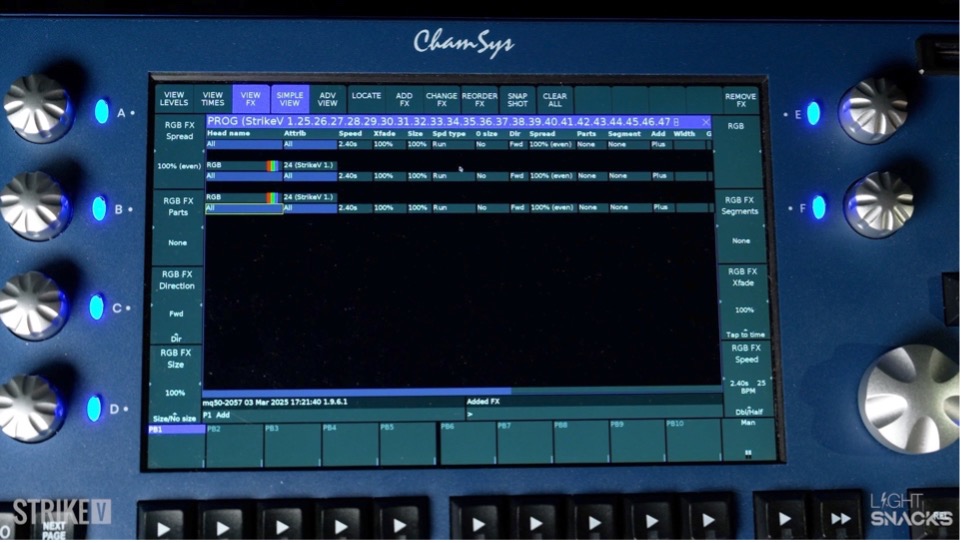
Program the dot layer by adding color and effects
Program the cell layer, also adding color and effects
Adjust the effect speed to land on the desired look and feel
Then, add movement to the effect to really bring the look alive (be sure to watch our live Light Snacks demo to appreciate the visual impact of this step)
Learn how to build offset strobe looks using STRIKE V’s dual layers of cells and dots, adjust flash rates independently, and dial in its smart variable frost for fine-tuned on-camera looks.
“The ability to layer and stack different looks is huge. One second, you’ve got tight, sharp beams and sparkling strobe effects, and the next, you drop in the smart electrostatic frost, and suddenly, the entire beam flattens out beautifully—without killing output. It’s a game-changer. Whether you’re doing arena-scale production, live broadcasts, or intimate performance lighting, this thing delivers.” – JoeWatrach
Keeping up-to-date with the latest firmware updates across our broad product range just got easier.
Our GitHub portal is where all CHAUVET Professional customers and end users can now enjoy direct access to all our latest firmware (aka fixture software).
Ready to get started?
For a quick start overview of the simple steps to find and download fixture software from GitHub, Sr. Product Development Manager Michael Graham walks you through in this episode of Light Snacks: Light Snacks: How to Find Fixture Software on Github
For those new to GitHub, here’s a quick FAQ before clicking that link:
What is GitHub?
GitHub is a (free to you) code hosting service that stores and manages our firmware (fixture software) update versions.
Why GitHub?
We are constantly improving our firmware to optimize fixture performance and features. Each tweak creates a new firmware version number. Making sure you are downloading the absolute latest greatest firmware version when multiple versions exist… can be a chore. GitHub makes it easy.
How to use GitHub?
As you read on, we will be showing you GitHub as it appears in a desktop browser window. In addition to browsing and searching our firmware Repositories, GitHub also allows you to turn on Notifications in order to receive real time firmware updates, and provides a hub for you to Log an Issue so that we can address any suggestions or requests you might have for our developers to incorporate into future firmware versions.
Do I need to be registered to use it?
Our firmware files can be downloaded without the need for a GitHub account, but having an account means you can subscribe, follow products for updates, and take full advantage of the services the GitHub portal offers.
MAIN WINDOW
Once you click on https://github.com/Chauvet-pro you will find yourself looking at our MAIN WINDOW:Clicking on the Repositories button in the top banner menu takes you to the complete fixture list.
Popular firmware downloads are listed in the Popular Repositories section.
And below that, a search bar allows you to find firmware by Repository name.
Note: Repository names are always our complete Model Name without spaces.
PRODUCT REPOSITORY WINDOW
Clicking on a Repository link takes you to the PRODUCT REPOSITORY WINDOW.
Here you can:
Click on the Firmware folder icon to access the firmware
For users with a GitHub account, you can choose to WATCH (follow) this product.
The WATCH menu allows you to set notification behavior for new releases
Those using the iOS or Android app, can also request push notifications
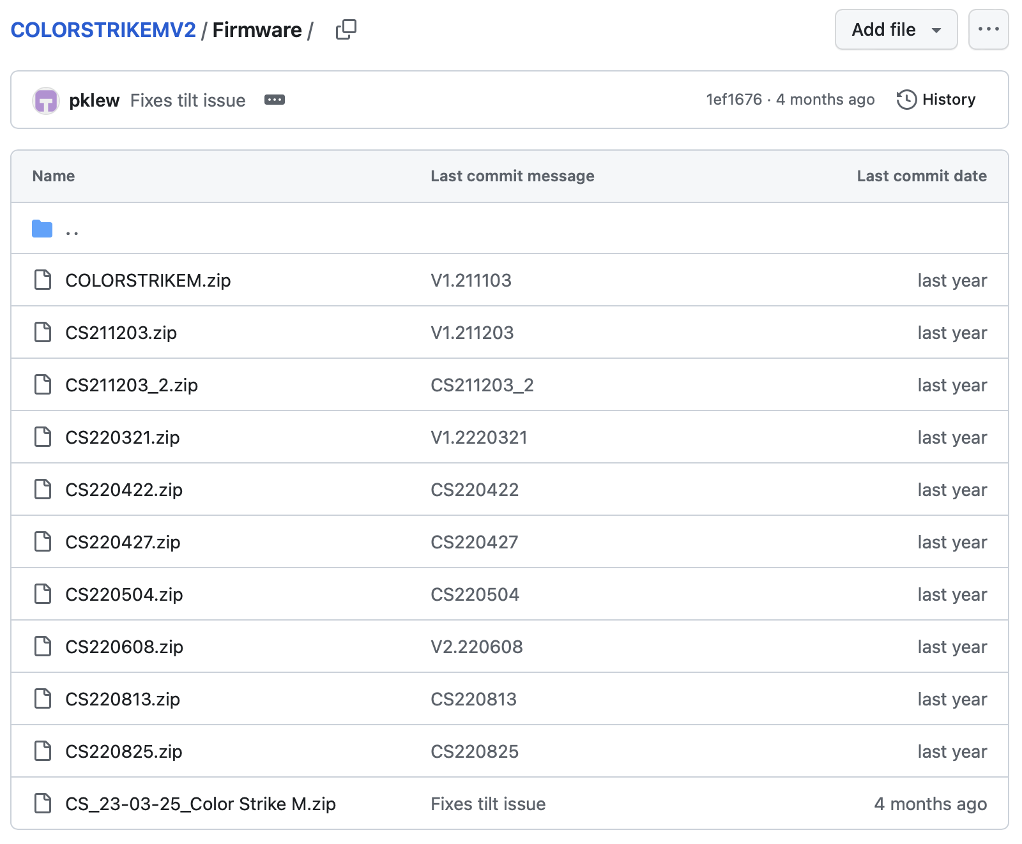
FIRMWARE LIST
Once you click the Firmware folder, you will see a list displaying:
Firmware filename | Last commit message (aka Release Notes) | Last commit date (aka Date of Release)
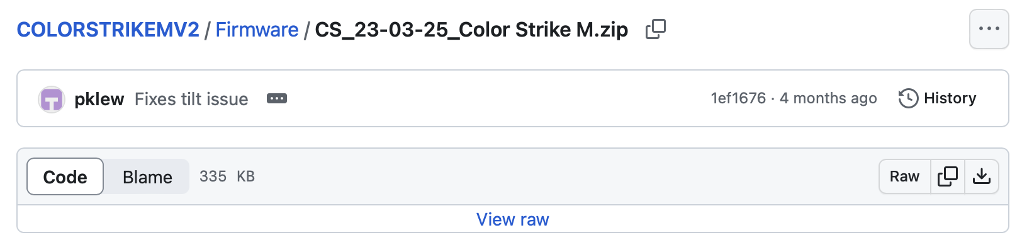
DOWNLOAD WINDOW
Clicking on a firmware file name will bring you to the DOWNLOAD WINDOW.
Here you can click on the download icon at the far right of the menu to begin your download.
In addition to providing a portal for retrieving our latest firmware files, GitHub also enables you to LOG AN ISSUE in order to notify our developers of your requests for new features or fixes in future firmware versions.
LOG AN ISSUE
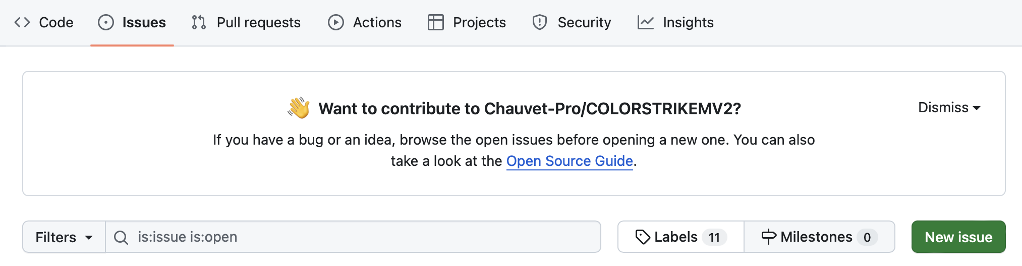
In the Product Repository Window for the selected model, you will see an Issues button at the far left of the top banner menu.
Clicking on the Issues button will take you to this screen:
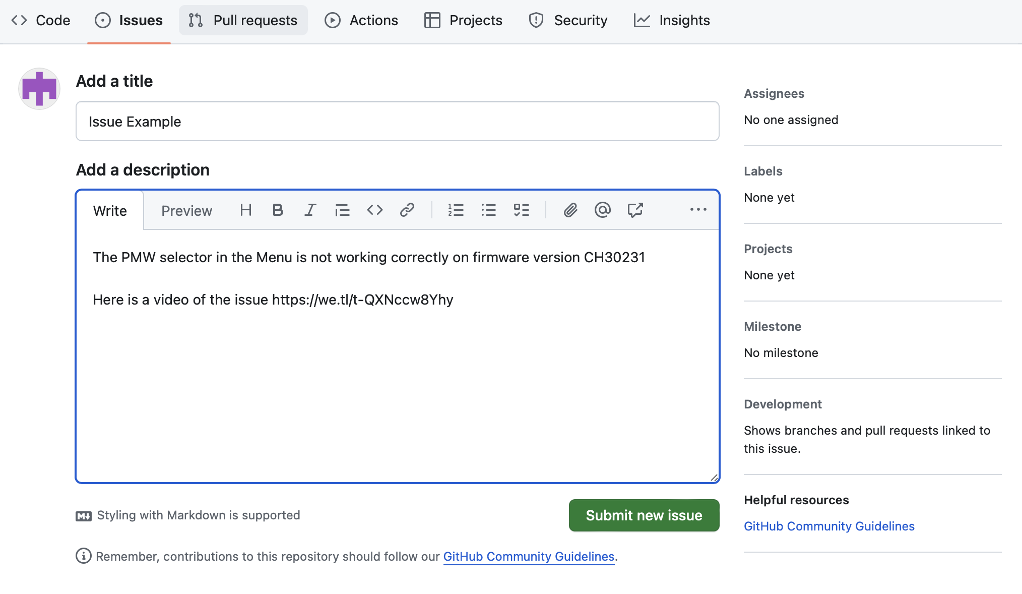
We welcome you to click the NEW ISSUE button to send us your bug report or suggestions for improvements to the current firmware version.
Please see our suggestions below for how to enter information in the NEW ISSUE SUBMISSION fields:
GUIDELINES FOR SUBMISSIONS:
Describe the issue with as much detail and information as possible.
Pictures and videos demonstrating the issue are helpful.
Please include a WeTransfer download link for any media you want to share.
THANK YOU for following along our tour of our new CHAUVET Professional GitHub Portal.
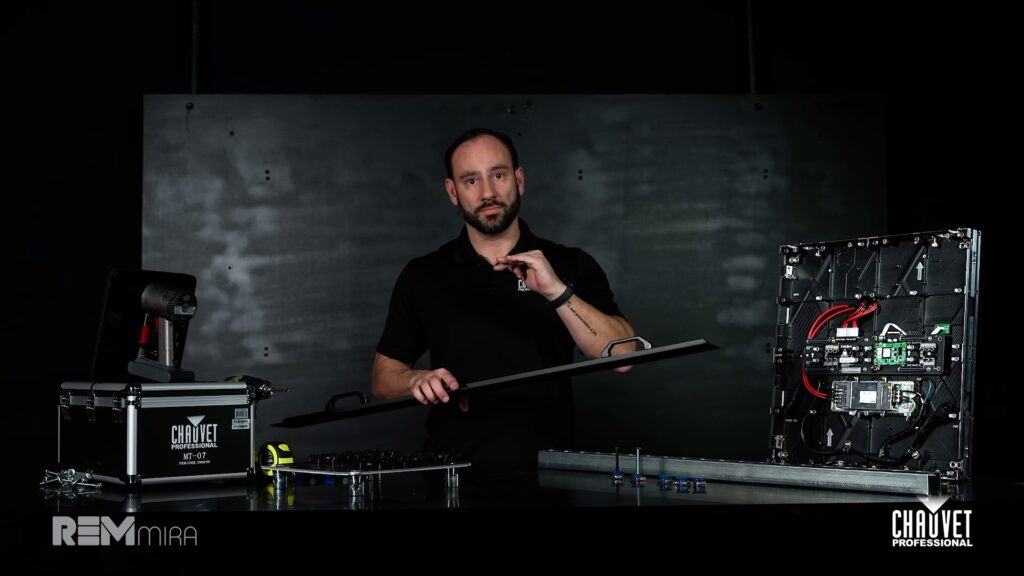
Senior Product Manager Anthony Chiappone serves up a pair of Light Snacks that help us understand what comes standard in the box as well as what additional accessories are available for our REM Mira series of thin profile, high-performance indoor video wall solutions.
Learn what you’ll find in the box when you purchase REM Mira.
A drill guide that works both horizontally and vertically, and can be used with a laser level to faciliate drilling mounting points that always hit their mark.
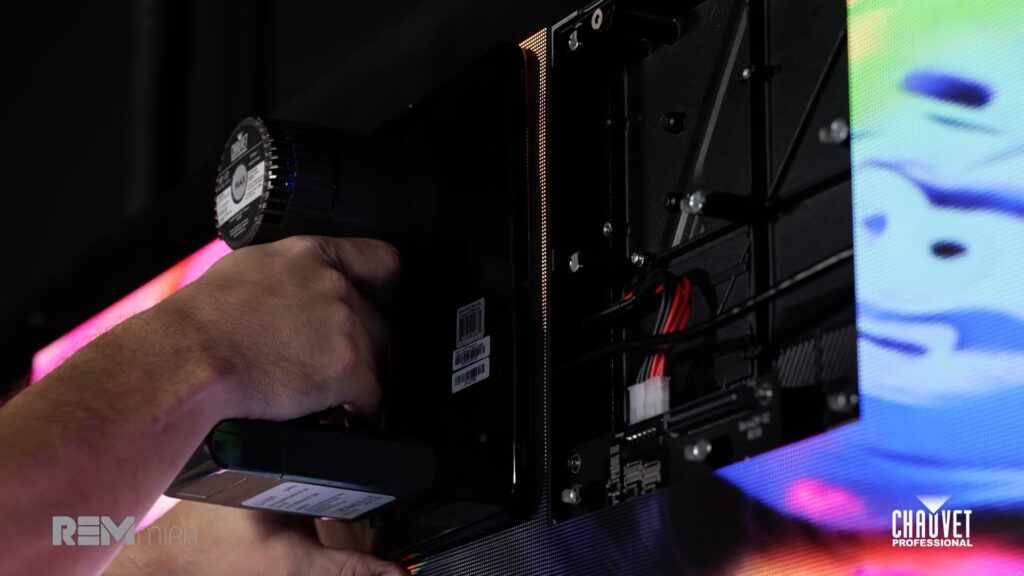
A rechargeable battery-operated vacuum tool that allows for directly installing and removing LED modules from the front of the screen.
Visit our Chauvet Video website for more information on our MT-07 universal LED Module removal/installation tool.
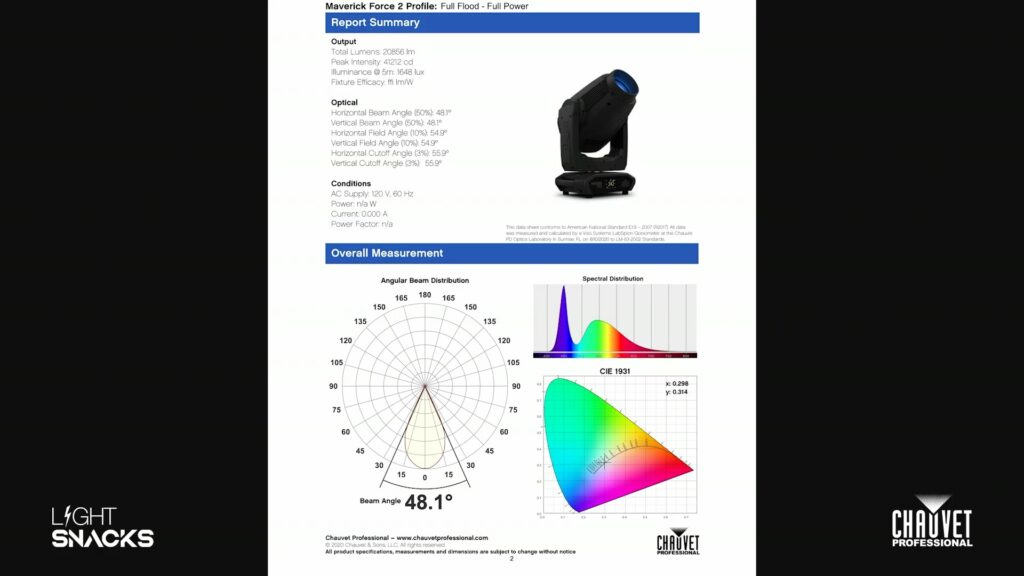
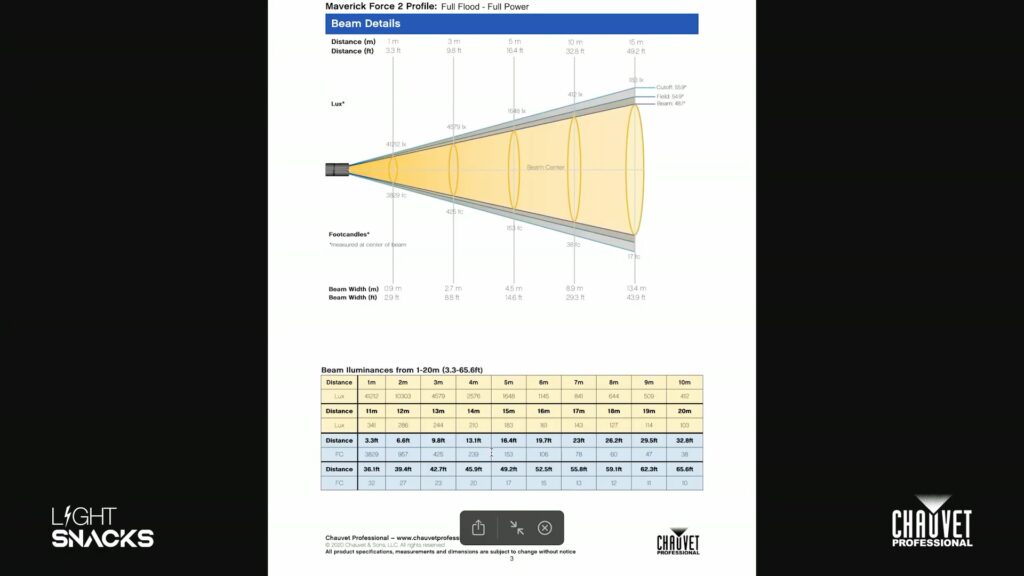
In this episode of Light Snacks, Senior Product Manager Mike Graham explains how to read and interpret photometrics reports, helping you make informed lighting design choices based on beam angles, peak intensity, zoom range, spectral distribution and more.
What spectral distribution means for color performance
Using photometrics to predict real-world fixture performance
For a deeper dive into demystifying photometric readings from Lumens versus Lux to lighting measurement types and how to apply these metrics to various projects, click below to watch an in-depth Tech Talk panel discussion: