
    Blog Series: Light Snacks

    The Whys and Hows of IP-rated Fixture Lens Cleaning

    Especially with IP65 fixtures, you want to make sure to follow a regular schedule of external lens maintenance.

    Two weeks is the recommended cleaning interval, subject to adjustment depending on the realities of where it’s being used.  

    Ideally, a quick clean would be performed every time gear comes back from an event.

    Lack of cleaning will lead to reduced light output, and in some cases increase internal heat build-up during operation.

    The Do’s and Dont’s of Lens Cleaning:

    • Do NOT apply cleaning solution directly to the lens

    • Do NOT clean while fixture is hot from use or cold from transportation

    • Do wipe the lens with a soft microfiber type towel moistened with cleaner

    Following a regular lens cleaning regimen will improve output and efficiency while reducing accumulated heat inside your fixtures. 

    TUNE IN to see a Light Snacks demo of how to clean an Ovation Rêve E-3 IP ellipsoidal.

    COLORado Solo Bar Rigging Options

    “We wanted the rigging options for this fixture to be very versatile.”

    • Feet that slide wherever you need them and help you get around truss braces

    • Lock down positions that are clearly marked for quick and easy rigging reference

    • Standard T-rail design that allows for easily adding custom fabricated mounts

    • Fully pivoting 180 degrees of tilt with ratcheted tightening for solid attachment

    • A shorter foot mount accesory that offers a lower profile installation option

    “Let’s talk about keeping things neat and tidy, especially on camera.”

    • Use the foot’s prestamped holes to remount the cam hardware in a vertical orientation to hide the edges of the feet from view

    • Use the purpose-built integrated clips at the back of each end of the fixture to hide your cable runs 

    • Use the removable glare shield to manage light spill when it’s needed (and keep it conveniently stowed away on the fixture when it’s not)

    • Use the pop-out pins for perfect end-to-end alignment and straight fixture lines 

    A couple Light Snacks for the full rigging run-through:

    COLORado Solo Bar Rigging Options, Part 1: https://youtu.be/69TLedzk0tI

    COLORado Solo Bar Rigging Options, Part 2: https://youtu.be/FcVKtghFKGg

    Meet the gear:

    COLORado Solo Bar 1 
    COLORado Solo Bar 1 is a 4-cell IP65-rated RGBwWL LED batten that produces a full range of color and perfect whites from a fixture offering LDs the flexibility to easily create beautiful whites with RGBwW or take control of all five colors in the full RGBwWL array.

    COLORado Solo Bar 4:
    COLORado Solo Bar 4 is a 16-cell IP65-rated RGBwWL LED batten that produces a full range of color and perfect whites from a fixture offering LDs the flexibility to easily create beautiful whites with RGBwW or take control of all five colors in the full RGBwWL array.

    COLORado Solo Bar 6:
    COLORado Solo Bar 6 is a 24-cell IP65-rated RGBwWL LED batten that produces a full range of color and perfect whites from a fixture offering LDs the flexibility to easily create beautiful whites with RGBwW or take control of all five colors in the full RGBwWL array.

    Inspecting the Gore Valve on CHAUVET Professional IP65 Rated Fixtures

    Gore valves are what enable our IP65-rated fixtures to maintain their seal against the elements while also allowing them to breathe in order to equalize pressure and reduce condensation.

    Product Resource & Experience Manager Brad Haynes explains the importance (and ease) of removing the Gore valve to inspect for signs of debris or clogging, allowing them to breathe in order to equalize pressure and reduce condensation.

    Tune in for a quick how-to video demo: https://youtu.be/Dy1A3sLJESg

    For maintenance that goes beyond visual inspection, we have developed a purpose-built portable tool capable of testing the vacuum and pressure parameters of IP rated products.

    In a future Light Snacks, we will cover the complete features and operation of our IP Tester, but here is an overview of this important tool for testing and maintenance of IP-rated products fitted with Gore valves:

    • Compatible with all IP rated products with Gore valves.
    • Pre-loaded testing personality files for CHAUVET Professional IP rated fixtures as well as offering the ability to easily create custom testing profiles.
    • Built-in web server allows for easily connecting to PC computers for creating fixture profiles and storing information collected from tests.
    • Housed in a compact and impact resistant ABS plastic case designed with touring in mind and able to fit in tool and road cases.

    Full specs: https://chauvetprofessional.com/products/ip-tester/

    How to Adjust PWM & LED Frequency Settings for Live and On-Camera Looks

    Pulse Width Modulation (PWM) dimming changes LED brightness by altering the pulse width of the electrical current. 

    PWM dimming offers important advantages for LED lighting systems, including a wide range of dimming levels without compromising color accuracy, and the ability to be adjusted to suit the requirements of sensors, cameras and displays.  

    CHAUVET Professional fixture menus include the option to specify the frequency that LED currents switch on and off.

    To prevent a flickering effect, the on/off frequency must be faster than what the human eye can see (typically over 100Hz).

    As with any technology, PWM dimming has drawbacks that must be taken into consideration, most importantly the potential for detectable flicker and noise.

    In a recent episode of Light Snacks, Product Manager Michael Graham explained how to get the best PWM settings for your LED fixtures. If you have too much hiss coming from your LED fixture, it’s an easy fix using the tips in this video tutorial:

    Since all camera settings are different, it’s impossible to say which setting will work best for you. Your best option is to scroll through the settings as you watch through your camera or monitor to see when the rolling stops.

    How to change the settings:

    • Hit MENU

    • Select LED FREQUENCY

    • Select Hz

    For purely live applications that do not require adjustment for the camera’s eye, the human eye will usually see better dimming when the fixture is set to the lowest LED frequency option. As a general rule, the lower the Hz, the better the dimming performance.

    Get the best out of your fixtures when they’re on camera or live by paying attention to your fixture’s PWM settings.

    Maintenance Tips for Your Haze & Fog Machines

    Three important tips for prolonging the life of your fogger or hazer that uses water-based fluids:

    After each use, blow or wipe off any debris or residue on the unit

    • Do NOT store empty. Top up fluids before storing. This often ignored piece of advice has created more maintenance headaches with atmospheric effects machines than all other issues combined.
    • DO flush out the system every 40 hours.  
    • To optimize flushing both fog and haze machines, we recommend FCQ ready-to-use cleaner fluid.

    Add one cup of FCQ to your machine’s liquid reservoir and cycle it through the system (by operating and activating output in normal fashion).  Adding FCQ to your maintenance routine will:

    • Clean heater cores, increasing fog machine life and performance
    • Increase output and life expectancy of any fog machine when used regularly
    • Safely remove residues with a formula specifically designed for water-based machines

    Catch our episode of Light Snacks that covers these tips at: https://youtu.be/GOzhqoFm2rE

    And find more information about our FCQ cleaner at: https://www.chauvetdj.com/products/fog-cleaner-quart

    Updating Maverick Fixture Software with a USB Drive

    First, make sure you have downloaded the software update to your USB stick. You can load all software to your thumb drive, as our fixtures will automatically detect the relevant software for updating.

    Our Firmware USB drive offers both USB-A and USB-C ports, 8GB of storage for your firmware files, and is correctly formatted to ensure compatibility with our fixtures. Store as many firmware files as needed on this handy device.

    link: https://chauvetprofessional.com/products/firmware-usb/

    We have created a step-by-step video tutorial that explains the software updating process:

    Light Snacks: Maverick Moving Heads Software Update with a USB

    link: https://youtu.be/NciHzI4G9Y4

    As soon as you put your USB stick into the fixture the LED display will prompt you to confirm the USB update. Say “YES.” The fixture will select the right software – and then confirm the update again. “YES.” The screen will go blank with a message at the bottom showing “Update in progress. Please wait.”

    DO NOT TURN THE FIXTURE OFF.

    Once the update is complete the LED display will show you the USB update screen and you can remove the USB stick. The LED screen will confirm the USB has been disconnected. Go back to your Main Menu screen.

    If you want to confirm that the correct software has been updated you can navigate menu options to check the version number of the software. If it matches the software version for your intended update, you’re good to go.

    You can always find our latest firmware at our GitHub portal: https://github.com/Chauvet-Pro

    Connecting the W-DMX Micro T-1 TRX G6 to a Maverick fixture

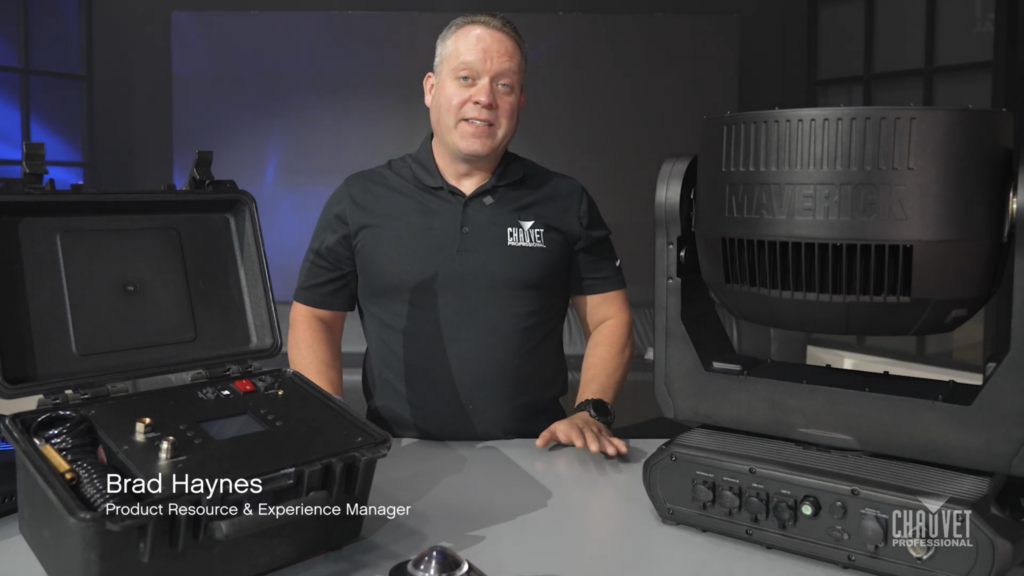
    This compact 2.4 GHz transceiver box can be set up to transmit or receive 1 universe of W-DMX, CRMX and RDM signals in order to operate a fixture or rig wirelessly.  With a range of 650 ft. (200m) and adaptive frequency hopping, this small device offers a robust solution for wirelessly controlling both W-DMX and CRMX enabled fixtures.

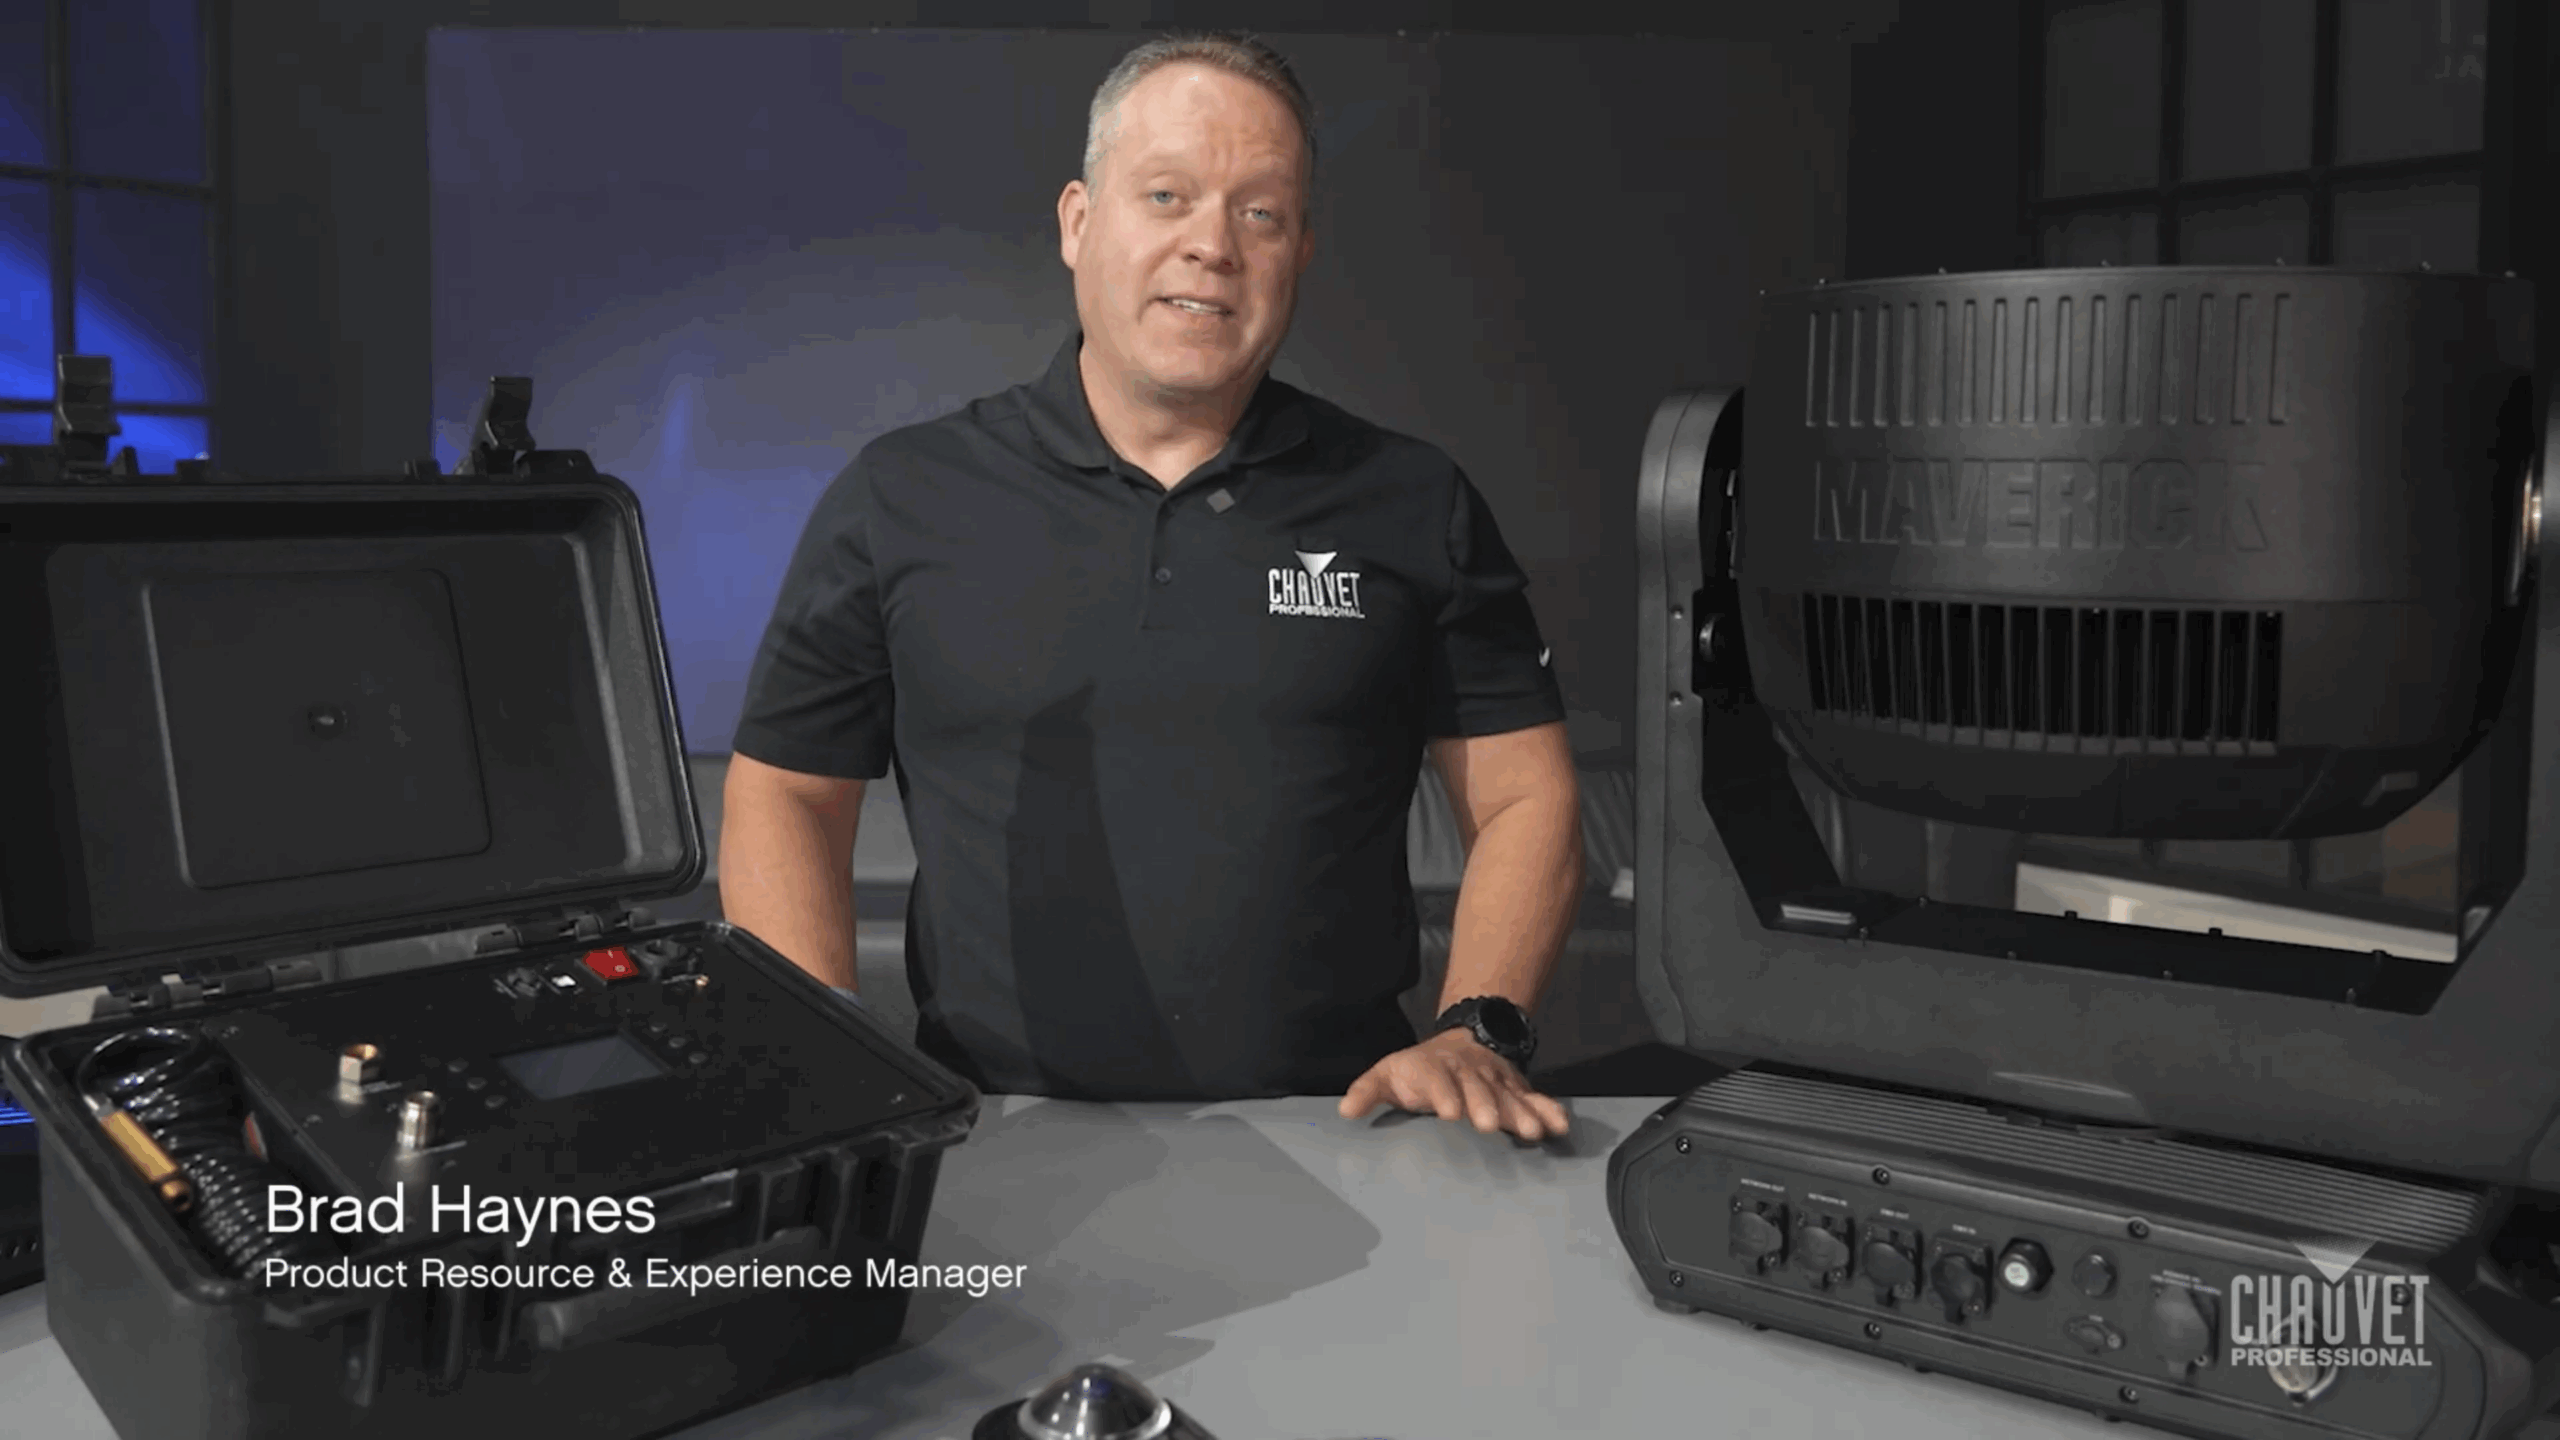
    Designed to be used directly with any Maverick fixture, linking the Micro T-1 TRX G6 is a straightforward operation.  We have created a two-part Light Snacks series to help walk you through the process, so be sure to check out those videos.  Now let’s jump into the steps and important notes to keep in mind when configuring the box and linking fixtures.

    If you’ve used previous versions of the Micro T-1, one of the first things you’ll notice is the new WIFI indicator on the front panel.  This new added feature is only for set-up. With WIFI on, you can access the box through the W-DMX Configurator app (downloadable for iOS and Android).  With this app, you can assign which version of W-DMX or CRMX that you want to use.  We recommend that you leave the box in its preconfigured G4S mode, as this allows you to operate both CRMX and W-DMX enabled fixtures, which means you can operate your CHAUVET Professional fixtures without needing to change this setting.

    Screen Shot 2023-05-11 at 11.22.12 AM

    Our first important note:  Wireless DMX communication during operation requires that WIFI mode be OFF, as the same antenna is used to transmit WIFI and W-DMX data (the steps for turning WIFI on and off are detailed in the manual).

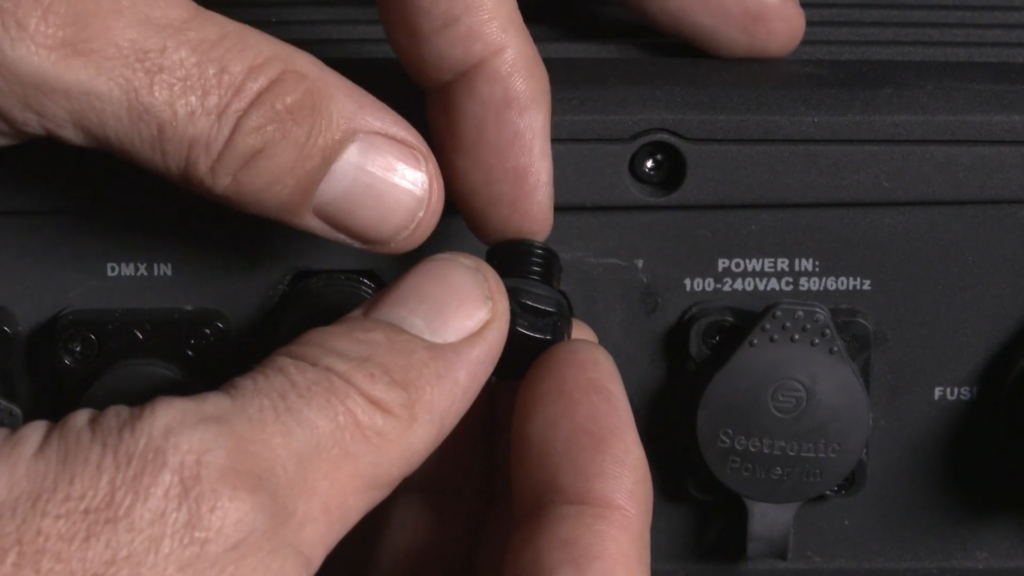
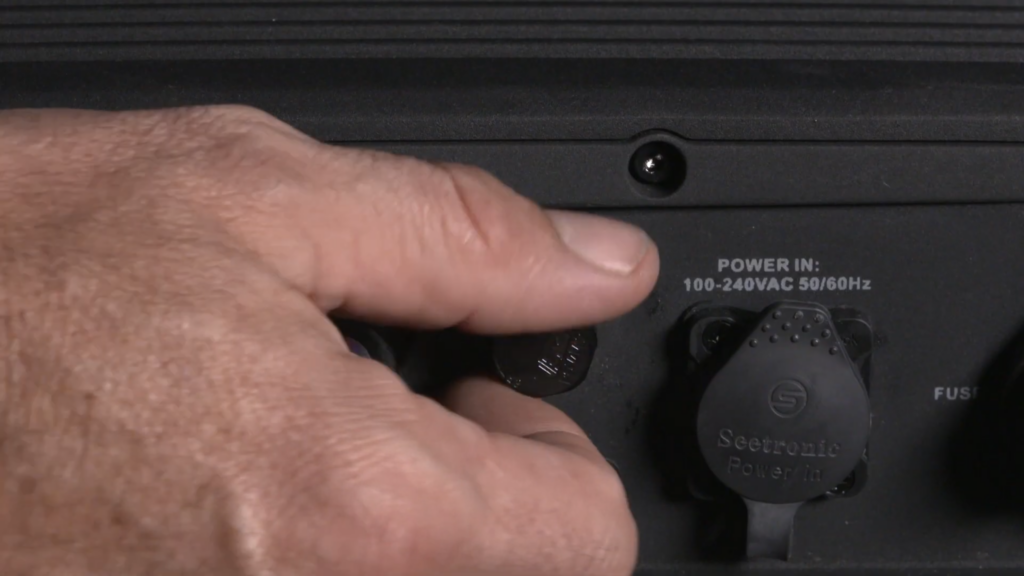
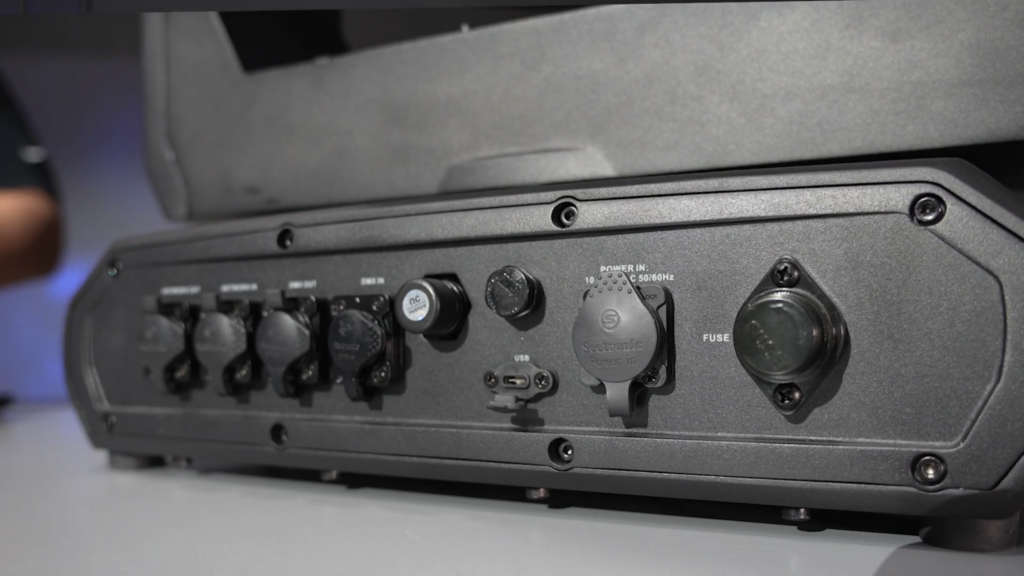
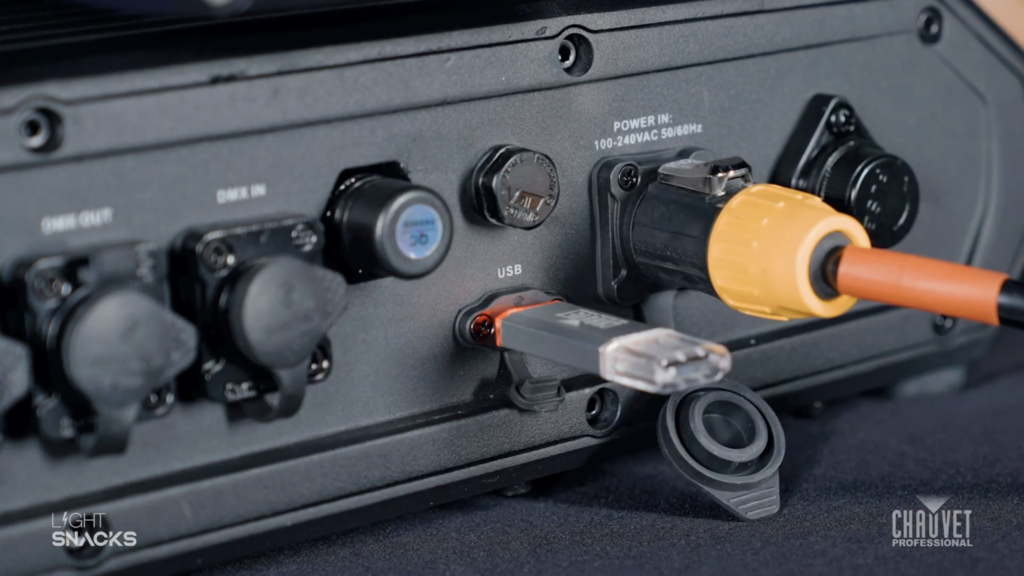
    To begin the process of linking the W-DMX Micro T-1 TRX G6 to a Maverick fixture, first power on the box using the on/off switch on the side of the device.  This can be done when operating with battery power or when connected to mains power.  Once powered on, you will see the signal indicator illuminate.  Make sure that you are in TX (transmit) mode.  Then plug in the DMX cable from your DMX source.

    For the next steps, we will configure the Maverick fixture before coming back to complete configuration of  the box.  On your Maverick fixture:

    • Go into settings on the fixture.
    • Set control mode to WDMX.
    • Arrow down to WDMX Reset.  Press Enter. Then select YES to reset.

    And now for our second important note:  If there is no DMX signal coming into the box, it will not connect to the fixture, so be sure the DMX cable connected to the box is receiving from a DMX source.

    Returning to the box, check again that you are in TX mode, then press the Red button for one second to activate the LINK function (confirmed by a blinking LINK indicator).  As soon as the link is successful, you will see the fixture react.

    Please note our third important point:  Holding the Red button for longer than a second will unlink the fixtures.  Here is the process for linking and unlinking:

    To unlink the box from the fixture, hold the Red button down for 3-4 seconds, and you will see the display on the fixture revert to a white wireless signal icon with a question mark.  Holding the red button again for one second will re-link and the fixture display will again show a green wireless signal icon.

    Now that you’ve been introduced to the basics of this versatile new box, be sure to refer to its product page and user manual for more in-depth information:

    https://chauvetprofessional.com/products/w-dmx-micro-t-1-trx-g6/

    Screen Shot 2023-05-11 at 11.20.35 AM

    Notes on TX (Transmit) and RX (Receive) modes:

    The male DMX connector on the box is set up for Transmit mode.  When using Receive mode, a gender conversion adapter will be needed (easily found in the marketplace).

    To change from TX (Transmit) mode to RX (Receive) mode:

    • Turn the box off
    • Hold down the large red button
    • Turn the box back on
    • Watch the indicator change from TX to RX
    • Let go of the red button
    • Then power the box off and on again.  Done!
    • Follow the same steps to revert to TX mode

    Notes on LINK indicator behavior:

    When linking fixtures:

    • Hold down the large red button for a quick second
    • Watch the LINK indicator begin flashing
    • Steady LINK indicator signals successful linking

    When unlinking fixtures:

    • Hold down the large red button for 3-4 seconds
    • Upon release, the fixtures will be unlinked

    IP65 Power Cable Management with PowerStream 4 IP

    Whatever the weather brings, PowerStream 4 IP has got you covered, safely distributing available power wherever and whenever you need it.

    The original PowerStream 4 provided a practical powerCON-compatible solution for using your circuit power more efficiently on your rigs. With the arrival of PowerStream 4 IP, you now have all the benefits of power-splitting plus an IP65-rated design that takes advantage of the complete interchangeability of PowerKon and TRUE1 style IP65 connectors.

    As we know, these 20A locking mains connectors are designed with breaking capacity, in order to connect under load or live. Hot plugging into PowerStream 4 IP is no problem and gives you safe and immediate access to power in the rig.

    Let’s do a quick run through the other benefits of this useful device:

    Rigging: The main benefit of deploying PowerStream 4 IP in the main power feed is that it helps reduce the need for additional cables, but its design also makes rigging a breeze. PowerStream 4 IP was designed with production rental houses in mind and comes with multiple rigging options for hanging in your rig. Easily clamp mount to truss with its M12 threaded insert and safely secure by attaching safety cable to its built-in rail.

    Powerstream-4-IP-FRONT
    Managing cable runs regardless of fixture design: Incredibly enough, not all fixtures come with both an IN and OUT power connection. When you have fixtures in your rig that don’t have power-linking, PowerStream 4 IP is a must for keeping cable runs neat and clean.

    Weather-proof reliability: It may only weigh three pounds, but PowerStream 4 IP is built to last and housed in a compact aluminum die-cast body built to go anywhere.

    Powerstream-4-IP-right
    One thing you’ll need to remember: if you’re not using a connection on PowerStream 4 IP, be sure to close its cover in order to maintain its IP65 characteristics. And the one thing to never forget: Always do the math. Make sure to allow some overhead when calculating the total power draw from your fixtures so that you don’t exceed rated amperages. Keep that in mind and this ingenious IP65-rated power distribution box will keep you covered when it comes to keeping your cable runs efficient and your gear safely rigged and powered.

    Watch a live presentation of PowerStream 4 IP by a CHAUVET Professional product manager in our episode of Light Snacks that serves up useful tips about IP POWER CABLE MANAGEMENT.