How to Adjust PWM & LED Frequency Settings for Live and On-Camera Looks
Posted on April 17, 2024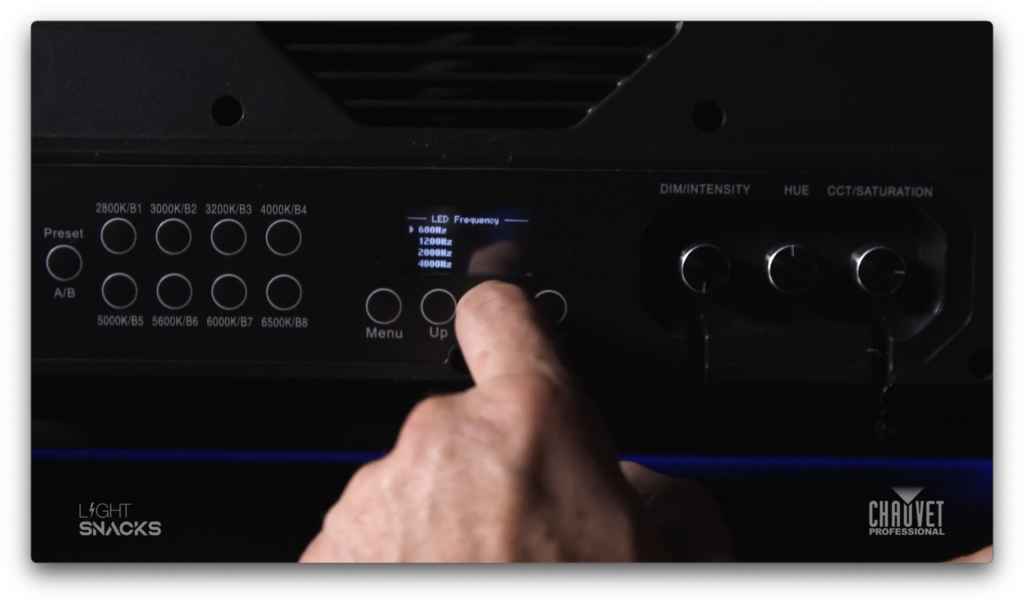
Pulse Width Modulation (PWM) dimming changes LED brightness by altering the pulse width of the electrical current.
PWM dimming offers important advantages for LED lighting systems, including a wide range of dimming levels without compromising color accuracy, and the ability to be adjusted to suit the requirements of sensors, cameras and displays.
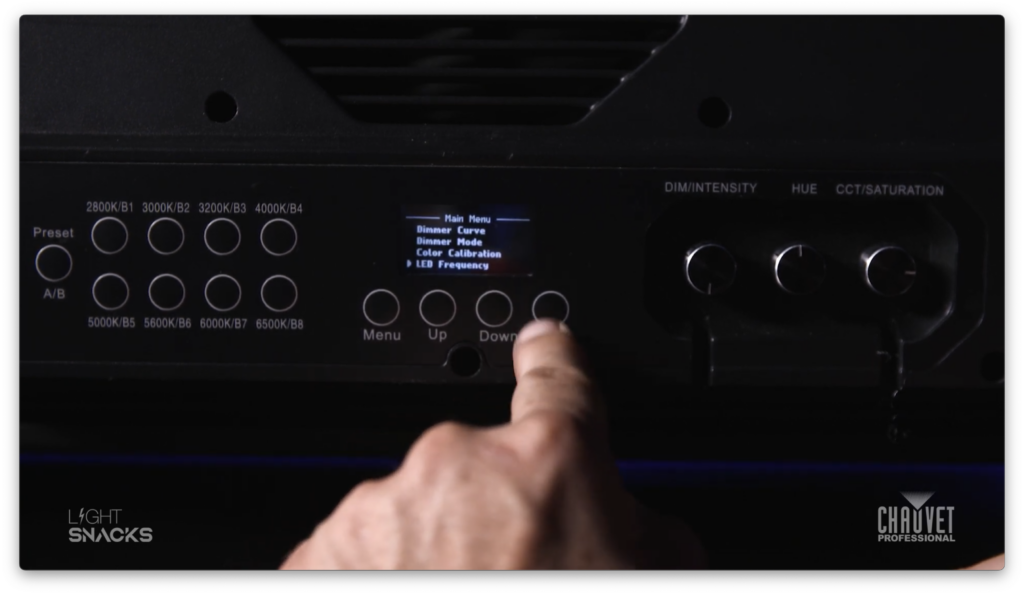
CHAUVET Professional fixture menus include the option to specify the frequency that LED currents switch on and off.
To prevent a flickering effect, the on/off frequency must be faster than what the human eye can see (typically over 100Hz).
As with any technology, PWM dimming has drawbacks that must be taken into consideration, most importantly the potential for detectable flicker and noise.
In a recent episode of Light Snacks, Product Manager Michael Graham explained how to get the best PWM settings for your LED fixtures. If you have too much hiss coming from your LED fixture, it’s an easy fix using the tips in this video tutorial:
Since all camera settings are different, it’s impossible to say which setting will work best for you. Your best option is to scroll through the settings as you watch through your camera or monitor to see when the rolling stops.
How to change the settings:
• Hit MENU
• Select LED FREQUENCY
• Select Hz
For purely live applications that do not require adjustment for the camera’s eye, the human eye will usually see better dimming when the fixture is set to the lowest LED frequency option. As a general rule, the lower the Hz, the better the dimming performance.
Get the best out of your fixtures when they’re on camera or live by paying attention to your fixture’s PWM settings.